 60 day satisfaction guarantee
  Order by 2pm for next day delivery
  250.000 + satisfied customers
 Log in or create new account to save this product to your wishlist.
9 MIN
16 Jul
Last update:
16 Jul 2025
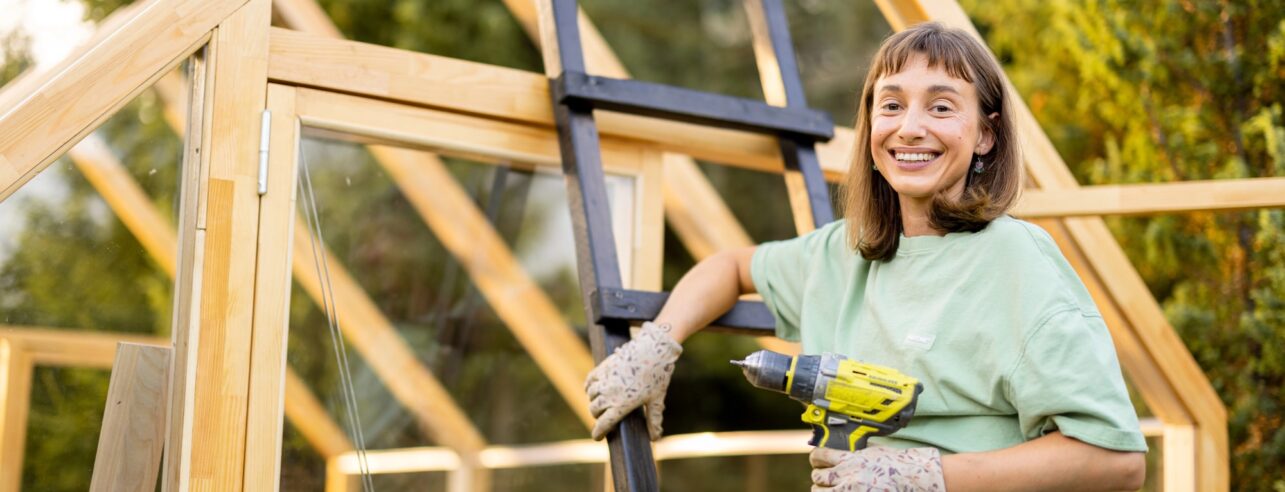
How to Build a DIY Greenhouse: A Practical Guide for Smart Spenders
Imagine extending your growing season throughout the year, nurturing tender plants regardless of the weather, and creating a personal garden sanctuary. This is precisely what a DIY greenhouse offers you. Let’s learn how to build one.
Free download
Do you want a lawn calendar?
🌱 All important maintenance moments for your lawn during the year. Leave your email and we will send you the lawn calendar for free.
Enter your email
Receive the lawn calendar in the mail
Enjoy a green lawn all year round!
MOOWY's Choice

Lawn kits
MOOWY's choice for the autumn | Keeps moss and weeds at bay | Provides a deep green color and healthy, full growth
From: 20.99
 Out of stock
View
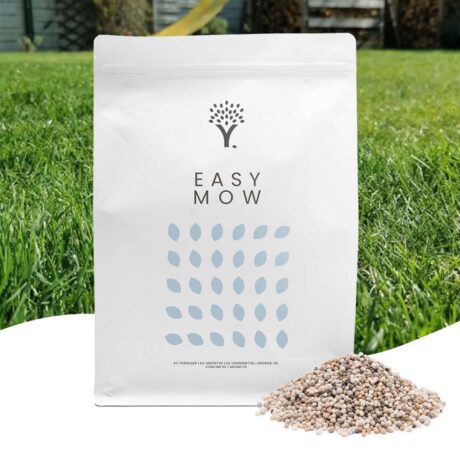
Autumn Lawn Care Kit
20.99
- Order by 2PM = shipped today
- 250.000+ satisfied customers!
- 60 day satisfaction guarantee
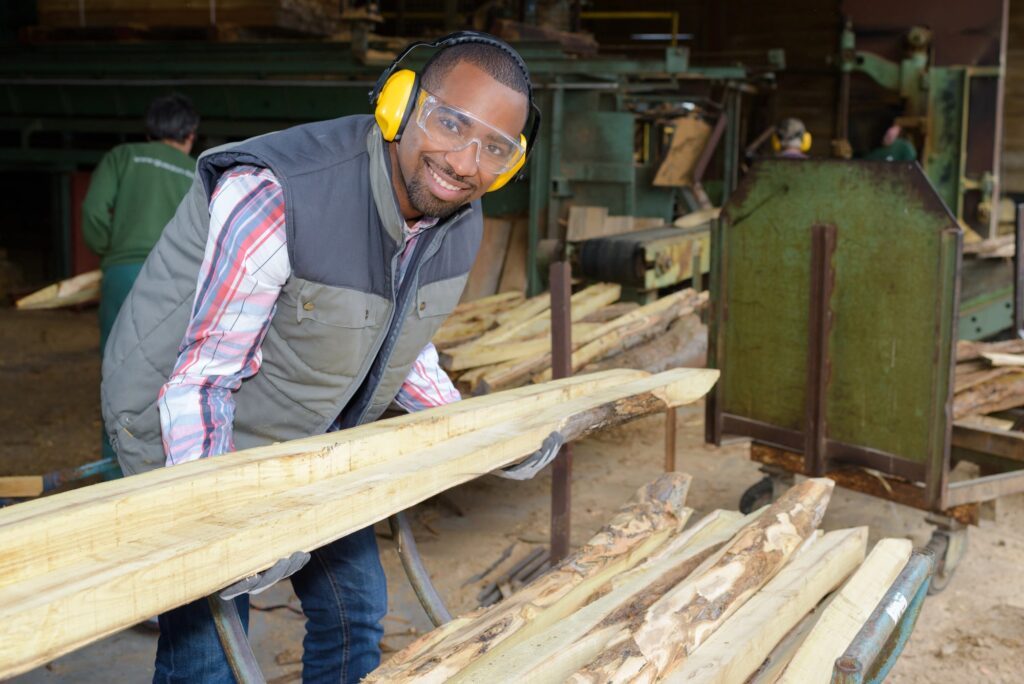
A DIY greenhouse offers almost all the benefits a ready bought one brings at a fraction of the cost. Beyond the practical benefits, there’s something deeply satisfying about constructing a growing space tailored precisely to your garden’s unique characteristics and your personal needs.
Table of contents:
Show all
- Planning permission and regulations
- Sourcing materials on a budget
- Tools you’ll need for a homemade greenhouse
- Designing your DIY greenhouse
- Building your greenhouse step-by-step
- FAQ about DIY greenhouse
- Ready to get started?
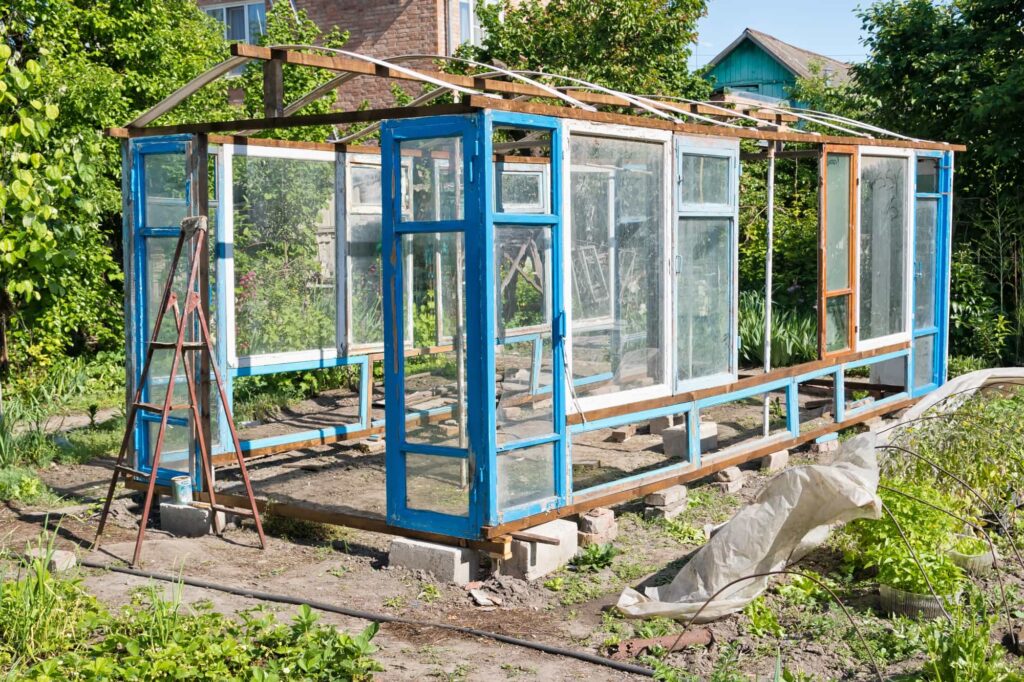
By incorporating reclaimed materials like old windows, doors, and timber that might otherwise end up in landfill, you’re not just saving money but making an environmentally conscious choice that gives these materials a second life.
Whether you’re working with a small garden space or have an awkward corner to fill, building a greenhouse yourself offers incredible flexibility. You can design it to fit against existing structures like fences or sheds, essentially halving the construction work required.
Though the project might take a while, the rewards are well worth the effort. In this guide, we’ll walk you through exactly how to build a greenhouse that’s both practical and budget-friendly.
Planning permission and regulations
Before collecting your first piece of timber or window frame, it’s essential to understand the planning regulations that apply to greenhouse construction in the UK. While many greenhouses fall under ‘permitted development’ rules, there are important limitations to consider:
- Greenhouses under 15 square metres generally don’t require planning permission if they’re not for commercial use
- Structures must typically be at least 2 m from property boundaries
- Maximum height restrictions usually apply: 2.5 m for flat roofs and 4 m for pitched roofs
- Conservation areas, listed buildings, and Areas of Outstanding Natural Beauty have stricter regulations
- For greenhouses exceeding 15 m2, planning permission is typically required
It’s always advisable to check with your local planning authority before beginning construction. Many councils have planning portals on their websites where you can find specific local guidelines. A quick phone call to your local planning department can save considerable headaches later.
Sourcing materials on a budget
Creating a budget-friendly greenhouse starts with smart material sourcing. By sourcing reclaimed materials and being creative with your approach, you could potentially complete a modest greenhouse project for under £100, though costs will naturally vary based on what materials you already have available and what you need to purchase.
Where to find free or cheap windows and doors
The treasure hunt for free materials can be surprisingly fruitful. Look beyond traditional retailers to these creative sources:
- Roadside rescues—you might find usable window frames and doors abandoned at kerbs
- Local building projects—ask around about renovation work happening nearby
- Online marketplaces—Facebook Marketplace or buy-and-sell sites connect you with people giving away old materials
- Neighbourhood walks—don’t be shy about asking homeowners about discarded doors you spot
- Bus companies—contact those managing local bus shelters as they sometimes discard perspex panels during replacements
Once people know you’re collecting materials, they’ll often keep an eye out for you. With patience and networking, suitable materials can gradually accumulate over time.
Using reclaimed wood and leftover supplies
Beyond glazing, structural materials can also be sourced economically:
Reclaimed timber offers substantial savings whilst adding character. Consider dismantled sheds, old roof trusses, and pallet wood for framing. Start by assessing what you already have—mysterious timber pieces “kicking around” your garden could become structural elements.
For flooring, limestone screening provides excellent drainage while being cost-effective. Alternatively, pea gravel works well for greenhouse bases.
Remember that constraints typically inspire creativity. Working with what you have can lead to unique design solutions and significant savings.
Tip
You don’t have to plan for a complete window front. A higher base from wood or brick reduced the number of windows or other transparent materials you need.
Tools you’ll need for a homemade greenhouse
Most DIY greenhouses require basic carpentry tools rather than specialist equipment. Essential items include:
- Saw (hand saw or reciprocating saw)
- Drill with various bits
- Level, measuring tape
- Screwdriver
- Post digger
If building on a foundation, add landscape fabric to prevent weed growth, along with a sledgehammer for driving posts and mason line to ensure everything stays level.
Safety considerations
Building a greenhouse involves working with potentially hazardous materials and tools. Taking proper safety precautions is essential:
Working with glass and glazing materials
- Always wear thick gloves when handling glass to protect against cuts
- Safety goggles should be worn during any cutting or drilling of glass
- Never work alone when moving large glass panels
- Consider using safety glass or polycarbonate alternatives, especially if you have children or pets
- Store glass panels vertically and secure them against wind
Tool and construction safety
- Wear appropriate protective equipment: safety boots, gloves, eye protection, and dust masks
- Ensure tools are in good working order before use
- Keep the work area clean and free of tripping hazards
- Use stable work platforms rather than balancing on chairs or boxes
- Have someone hold ladders when working at height
- Be especially careful when working in wet conditions
Designing your DIY greenhouse
Planning your greenhouse layout before picking up a hammer can save you time, money, and frustration. The design phase transforms your collection of materials into a productive growing space tailored to your garden’s unique characteristics.
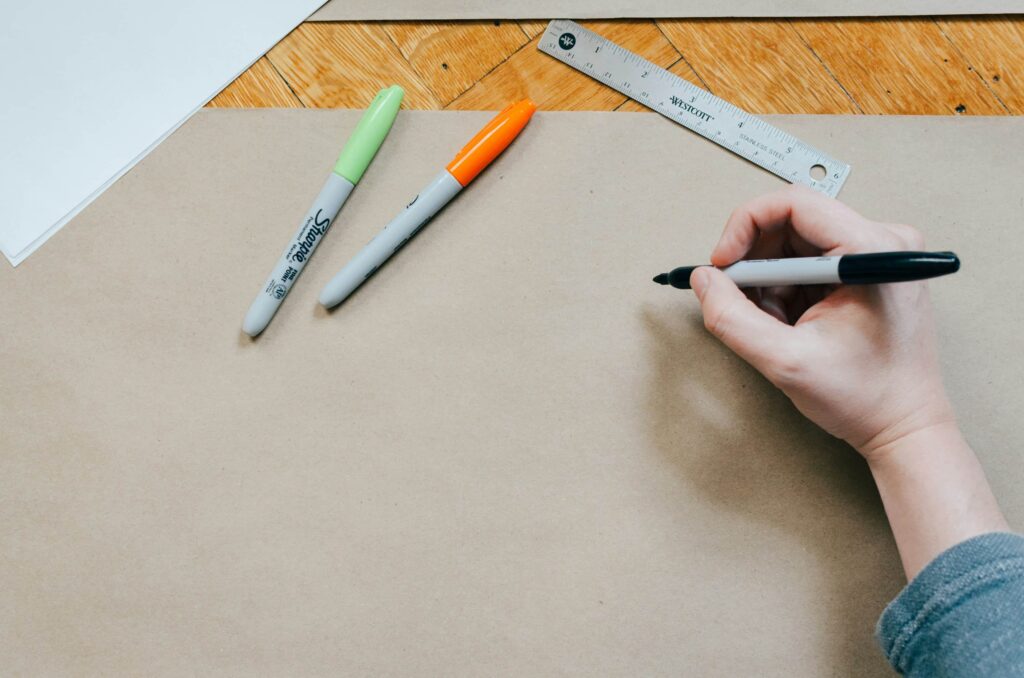
Sketching your greenhouse plan
Before construction begins, create a detailed plan that accounts for practical considerations. Initially, measure all your collected windows and doors, then arrange them in possible configurations on paper or using design software. Remember that only 60-70% of your greenhouse’s footprint typically becomes usable growing space, as paths and storage usually consume the remainder. If you already have a place for storage, you can adjust your plans accordingly.
Consider orientation carefully—a north-south alignment provides balanced light distribution throughout the day, whilst an east-west orientation maximises southern exposure, beneficial during winter months. Additionally, plan your interior layout with accessibility in mind:
- Central paths with growing areas on either side offer excellent accessibility
- Perimeter paths maximise central growing space but make some areas harder to reach
- Victorian-style designs with steeply pitched roofs create headroom for taller plants
- Don’t forget the ventilation
Building your greenhouse step-by-step
The actual construction of your DIY greenhouse begins once materials are gathered and plans finalised. This practical phase transforms your vision into reality through methodical steps that ensure a sturdy, functional structure.
1. Clear and level the site
Proper ground preparation forms the foundation of a successful greenhouse project. Firstly, mark your greenhouse dimensions using stakes and string, then level the area completely. A sloped surface can cause glass panes to fit incorrectly or even break under pressure. For accurate levelling, check that diagonal measurements match precisely and use a spirit level throughout the process.
Next, consider the base material—limestone screening offers excellent drainage while being cost-effective, whereas pea gravel works equally well. Covering the area with landscape fabric beforehand effectively prevents weeds from growing through your greenhouse floor.
2. Build the frame and fit windows
Begin by constructing the frame using pressure-treated timber for longevity. Many successful DIY greenhouses utilise 10×10 cm (4×4 inch) posts for corners with 5×10 cm (2×4 inch) lumber for wall studs placed approximately 60 cm (ca. ca. 24 inch inch inches) apart. This spacing conveniently accommodates standard window sizes or corrugated panels.
When fitting windows, create custom wooden frames around each one to compensate for sizing variations. This approach allows you to incorporate windows of different dimensions seamlessly. Remember that window installation generally requires two people working together for safety and precision.
3. Add a roof using plastic or glass
For roofing, polycarbonate panels offer significant advantages over traditional glass—they’re 200 times stronger, considerably lighter, and provide better insulation. Twin-wall polycarbonate creates an insulating air layer that effectively retains heat within your greenhouse.
Secure roof panels using specialised screws with rubber washers to prevent leakage and panel damage. Overlap each panel slightly (usually by one ridge) to ensure water runs off properly.
4. Seal gaps and ensure stability
Effectively sealing your greenhouse protects against water damage and improves insulation. Silicone caulking works perfectly for precise, smaller gaps around roof vents and joints. For larger openings, camper seal (foam-based tape) or spray foam insulation creates an airtight barrier.
Test for air leaks after sealing by checking for drafts on a windy day. Subsequently address any problem areas with additional sealant to ensure complete protection.
5. Paint and decorate the structure
Painting provides both aesthetic appeal and vital protection for wooden components. Water-based exterior wood paints offer excellent coverage while remaining environmentally friendly. Apply at least two coats, allowing proper drying time between applications according to the manufacturer’s instructions.
Consider stencilling the concrete floor for an attractive finish—exterior masonry paints from various manufacturers can provide durable results. Complete your greenhouse with practical storage solutions such as vintage apple crates under staging areas to organise pots and equipment neatly while maintaining the structure’s charm.
FAQ about DIY greenhouse
What materials are best for building a DIY greenhouse?
For DIY greenhouse construction, polycarbonate panels offer exceptional insulation and durability. Budget-friendly alternatives include greenhouse-grade polyethylene film, which typically lasts 3–5 years. For framing, choose between pressure-treated wood, aluminium, or PVC pipes. Always select materials based on your local climate conditions, ensuring your design incorporates proper ventilation options.
How do I maintain optimal temperature in my DIY greenhouse?
Maintain greenhouse temperatures between 18-24 °C during the day and above 13 °C at night using a combination of heating and cooling strategies. For heating, position your greenhouse for maximum sun exposure and use thermal mass objects like water barrels to retain heat.
For cooling, install automatic vent openers, apply shade cloth and use circulation fans to prevent fungal diseases. Group plants with similar temperature requirements together for more efficient climate control.
What are the most common mistakes to avoid when building a DIY greenhouse?
Avoid underestimating your DIY greenhouse size requirements. Pick a level site with good drainage and 6 or more hours of daily sunlight, away from shadows and falling debris.
Never underestimate ventilation needs—include roof vents, side vents, and fans. Ensure proper anchoring with concrete footings or ground anchors, even for lightweight frames.
Ready to get started?
Now you know how to build a DIY greenhouse in theory. The practical part is up to you. Take your time when sourcing materials and building the real deal. You will thank yourself later for all the hard work. If you are into DIY in general, you might want to check out our articles on how to organise your garden tools, zero-waste gardening and sustainable gardening.


SURVEY
Find the best match for your needs in no time!
Answer 2 questions and we provide you with the best product.
What lawn size do I have?
– More posts –
These may also be worth a read
-
 Orchids: A Complete Guide on How to Care for ThemWant to give your orchid the best possible care? Discover essential tips from placement to watering and pruning. Learn everything you need to know!Read more
 -
Growing Wisteria Made Simple: From Planting to Perfect BloomsWith blossoms like a purple waterfall, Wisteria sets an almost magical and colourful mood. If you want to grow this beauty in your garden, you’ll need a bit of patience. Don’t worry, it will most definitely pay off.Read more
-
How to Grow Eucalyptus in British GardensWith a little love and care, eucalyptus trees can thrive in English gardens. Since they don’t germinate well without proper help, there are not considered invasive. So, there is no reason not to plant them if you enjoy their looks.Read more
-
Transform Your Garden with All-Year-Round Flowering PlantsDid you know you can enjoy blooming flowers even in January? With the right selection of all year round plants, there’s no need to wait until spring to add some colour to your garden.Read more
-
How to Create a Butterfly Garden: A Simple Guide for British GardensThe UK's butterfly population includes 59 different species. These beautiful winged creatures face a steady decline because of habitat loss, pollution and changing weather patterns. Your garden can become a vital link between nature reserves and natural habitats. Let’s explore how.Read more
-
Volcanic Rock Dust for Your Garden—Application and TipsDid you know that volcanic rock dust is a brilliant organic soil improver? This article explains exactly what it's good for and how to use it properly.Read more
-
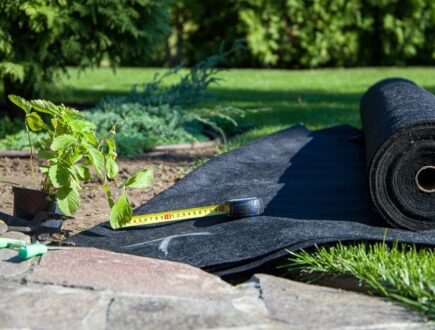
How to Use Landscape Fabric ProperlyIf weeds or erosion in your garden are troubling you, landscape fabric might be the solution. We’ll explain how and when to use it properly, just keep on reading.Read more
-
Hostas: A Complete Care GuideIf you have a north-facing garden or some shady corners on your property, hostas are the plants for you. These green delights thrive particularly well in partial to full shade and require consistently moist soil to perform at their best.Read more


Leave a comment
Your answer will be displayed on the site and the interested party will be notified by email.
Leave a comment
Have a question or want to share your experience? Leave us a comment.

Lawn kits
All products after scarifying | Quickly restores the lawn after scarifying | Outsmart weeds quickly with the use of this kit
From: 37.99
Out of stock
View
Scarifying Kit
37.99
- Order by 2PM = shipped today
- 250.000+ satisfied customers!
- 60 day satisfaction guarantee
Lawn kits
MOOWY’s choice for spring care | Quick recovery of your lawn after winter | A strong lawn prevents weeds
From: 24.99
Out of stock
View
Spring Lawn Care Kit
24.99
- Order by 2PM = shipped today
- 250.000+ satisfied customers!
- 60 day satisfaction guarantee

Lawn feed
Effective for 90 days | Suitable for all types of grass and soil | See results in 14 days
From: 13.99
Out of stock
View
Long Lasting Lawn Fertiliser
13.99
- Order by 2PM = shipped today
- 250.000+ satisfied customers!
- 60 day satisfaction guarantee
– WHO ARE WE –
We believe that everybody should enjoy a green, healthy garden. Effortlessly.

Free download
Do you want a lawn calendar?
🌱 All important maintenance moments for your lawn during the year. Leave your email and we will send you the lawn calendar for free.
Enter your email
Receive the lawn calendar in the mail
Enjoy a green lawn all year round!


Comments (0)
There are no comments yet. Well then, what are you waiting for to
Be the first to write your comment!inaugurate this pretty page?
Do you have some comments?