Log in or create new account to save this product to your wishlist.
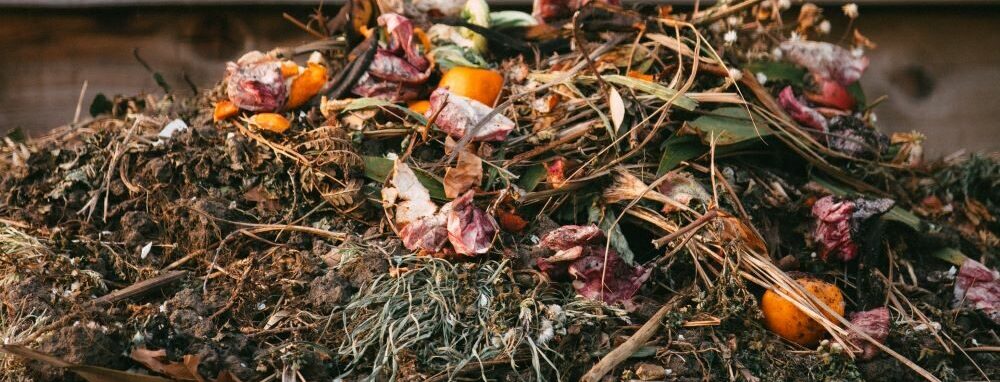
How to Make Compost From A-Z
Learn how to make compost to feed your plants and reduce waste. From beginner to expert, here's an easy guide for successful composting at home.
🌱 All important maintenance moments for your lawn during the year. Leave your email and we will send you the lawn calendar for free.
Enter your email
Receive the lawn calendar in the mail
Enjoy a green lawn all year round!
- Order by 2PM = shipped today
- 250.000+ satisfied customers!
- 60 day satisfaction guarantee
Homemade compost is a practical asset in your garden, working wonders as a soil enhancer, useful mulch, and adaptable growing medium. Plus, compost heaps become homes for wildlife, from bumblebees to hedgehogs, slow worms, and even hibernating green shield bugs. We’ll guide you through the process of how to make compost, the difference between “cold” and “hot” compost, and how to avoid common mistakes.
- What is compost?
- What are the benefits of home composting?
- What can I add to my homemade compost heap?
- Compost: hot vs. cold
- How do I start my compost heap?
- How long does it take for waste to break down into compost?
- How can you use your compost?
- Pro tip: How to make compost tea
- FAQ’s
- Ready to start composting?
What is compost?
Compost is a result of natural decomposition, creating a dark, crumbly, earthy-smelling material from organic sources like leaves and grass clippings. Microbes and soil animals continuously break down plant and animal remains, a process you can speed up to generate a consistent supply of beneficial compost, often referred to as “black gold.” This finished compost is rich in essential nutrients for plant growth and enhances soil structure.
What are the benefits of home composting?
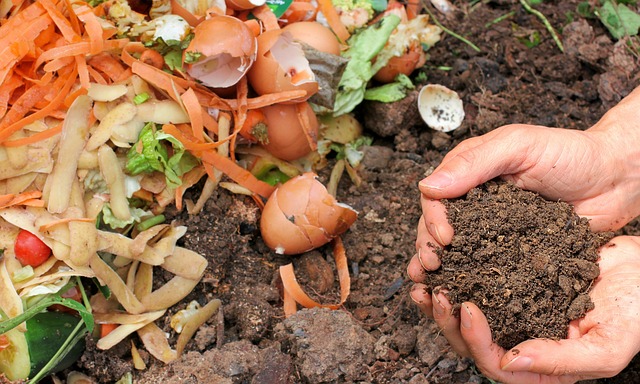
Garden and food waste composting gives you a steady supply of healthy compost for your garden. Though it takes some time and effort to start, once you get it going, it becomes a helpful and ongoing resource.
Composting also helps a lot by reducing the amount of waste that goes to landfills. This not only saves money but also cuts down on pollution from processing waste.
Besides that, composting makes the soil better by adding nutrients, so you don’t need as many fertilisers and pesticides.
It also keeps the soil moist, which stops soil from washing away and means you don’t need to use products that harm the environment and use fossil fuels. Plus, composting helps capture carbon, which is good because it takes carbon out of the air.
What can I add to my homemade compost heap?
The following are good to add:
- Grass clippings
- Tree leaves
- Kitchen scraps like used coffee grounds, potato and banana peels, lettuce, avocado skins, etc.
- Newspaper (with black & white print)
- Printer paper
- Cardboard and wood shavings/sawdust
- Disease-free garden waste
- Animal manure from vegetarian animals, such as cows, horses, rabbits, hamsters, etc.
Approach these with care:
You can put most organic materials on your compost heap, but there are some you should avoid.
Non-vegetarian manure – it’s possible to compost waste from meat-eating animals, such as dogs, cats, and even humans. But these manures are likely to carry disease-spreading pathogens. These manures are only suitable for hot composting to kill off the potentially harmful microbes.
Invasive weeds – while composting invasive weeds such as Canada thistle is OK, these weeds can come back from tiny pieces of plant material. So, while it won’t necessarily harm your compost, it could contribute to the return of an unwelcome invasive weed. This suggests it’s probably best to avoid composting invasive weed species.
Some food products – while eggs, noodles, and bread benefit your compost’s biodiversity, they can attract nighttime vermin. So, it’s best to avoid adding scraps that contain animal-based products such as egg, dairy, fats, and oils – unless you can lock your compost bin.
Coloured-ink newspapers – some coloured print papers are coated with a thin wax layer, which can prevent decomposition. Shredding helps speed up the decay, but it might be better to avoid coloured prints altogether.
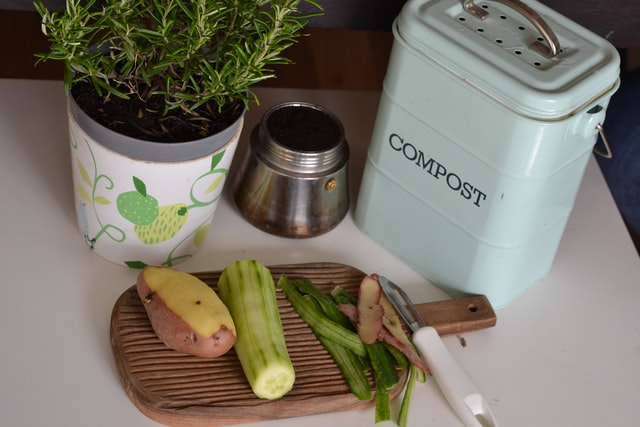
Steer clear from:
Diseased garden wastes – avoid composting any plant showing signs of disease, such as blight. Many diseases survive the decomposition process, meaning that you spread disease when you add your compost to your garden soil.
Meat, dairy, bones, and fat – these attract vermin and can promote disease. Fats include butter and oil. However, it’s usually fine to add these wastes to your council’s green waste – check your local council website for confirmation.
Compost: hot vs. cold
Hot composts
For the hot composting method, you’ll observe decomposition over time.
When turning the heap, look for steam, indicating active decay. When the heap stops heating up, it’s nearly ready for your garden soil.
Allow a couple more weeks for curing, crucial for microbe development at a lower temperature and the entry of heat-intolerant organisms like earthworms.
Cold composts
Cold composting takes longer, usually at least a year.
Look for crumbly, dark brown earth with a soil-like smell. If you don’t shred ingredients, it takes longer for items like eggshells and twigs to break down.
Ready-to-use compost should show no signs of original materials; if you can still identify something, it’s too soon. If some materials remain, the rest of the compost should be fine.
How do I start my compost heap?
To start your compost heap, use a container to generate and maintain heat. Consider investing in a composter from your garden centre for a neater appearance.
The ideal location for a composter is in partial shade on open ground. To prevent rodents from eating the compost, you can place a chicken wire underneath. Place it on bare earth without a bottom, allowing worms and beneficial organisms to aid in aeration during decomposition.
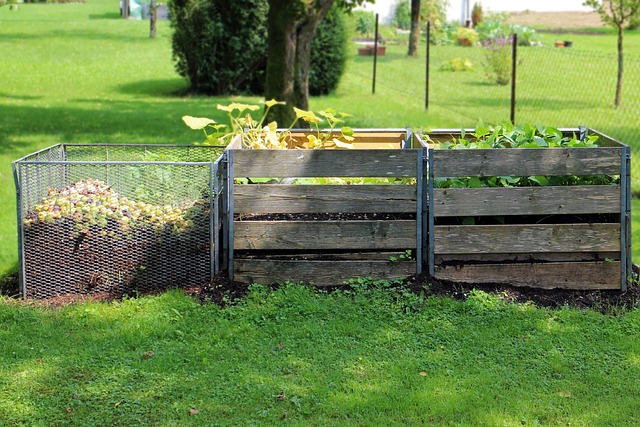
Add straw or twigs, about 7.5 centimeters deep, to ensure good drainage. Layer in various types of waste—like dry leaves and straw, and moist items such as kitchen scraps and tea bags. Also, mix in manure or a nitrogen source to kick-start the composting process.
Remember to water it now and then to keep it a bit wet. Cover the pile with materials like wood, plastic, or a piece of carpet to keep it moist and warm, and to protect it from too much rain.
Turn the pile every 2-3 weeks using a shovel, pitchfork, or a turning composter to help air get in. Keep adding new things and mix them in as the compost continues to develop.
If your compost looks like crumbly, dark brown earth that smells like earth, it’s ready for use. If the compost still smells of rotting vegetables, you should leave it for a while longer.
How long does it take for waste to break down into compost?
How long it takes for the waste to turn into compost depends on several factors.
Hot composting can be as quick as 6-8 weeks, but the process usually takes longer. The speed of decomposition is influenced by the heap size, how often you turn it, and whether you follow a cold or hot composting method.
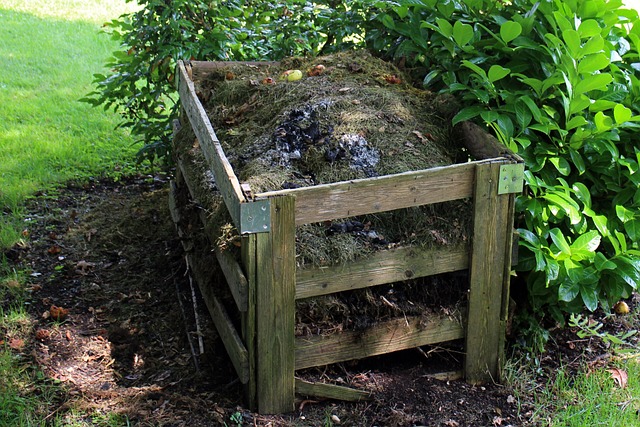
Cold composting, where you leave items to decompose without intervention, is slower than hot composting, which requires more effort like regular turning. Understanding these factors helps you create nutrient-rich compost for your garden.
Smaller, shredded materials break down faster, so consider chopping or shredding your waste. A mix of brown, carbon-rich materials and green, nitrogen-rich ingredients speeds up composting. Regularly turning the heap improves aeration, especially moving larger pieces to the center for quicker breakdown.
How can you use your compost?
Mulch: Applying compost to the soil surface helps retain moisture and prevent weed growth.
Potting Soil: Mix compost with equal parts vermiculite and topsoil for a nutritious addition to your potting soil.
Compost Tea: Brewed from homemade compost, this liquid serves as a nutrient-rich boost for your plant’s roots. We’ll give you instructions on how to make compost tea further on!
Spring Bulb Boosts: Enhance bulbs that have divided by adding compost to the planting hole during over-winter storage.
Topsoil for Your Lawn: Improve soil quality by adding 1-2 inches of compost to your lawn surface before autumn fertilisation. Find out more tips for autumn lawn care.
Flower Bed Topdressing: Prior to rain, topdress flower beds with compost to wash nutrients down to plant roots.
Feed Your Fruit Trees: Apply a layer of compost around the tree’s trunk before rain to encourage better fruit production.
Container Soil Improver: Add screened compost to containers for a nutrient boost, removing stones and undecomposed twigs.
Edible Fruiting Plants: Boost nitrogen levels for plants like tomatoes and cucumbers by adding compost to planting holes and top dressing throughout the growing season.
Pro tip: How to make compost tea
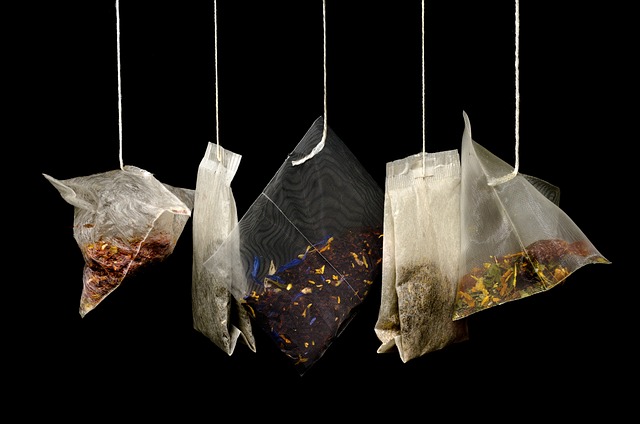
To make compost tea, which is more like a fermentation than actual tea, you’ll need a 20-litre bucket and 20 litres of non-chlorinated water (rainwater is ideal).
Here’s a quick guide:
Add 260g of organic compost, 1 tbsp of blackstrap molasses, 1 tbsp of liquid kelp fertilizer, and 1 tbsp of liquid fish fertiliser into a bag (burlap or nylon stocking).
Tie the bag to the outside of the bucket using a string, so you don’t have to dip your hand in later.
Let it sit for about 24 hours, ensuring it doesn’t develop a bad smell.
Remove the bag.
Create a 1:4 dilution (1 part tea to 4 parts water).
Pour the diluted compost tea over your soil within 4 hours using a watering can. Avoid leaving it longer, or the beneficial microbes may start to die.
Remember, this “tea” is for your plants, not for drinking!
FAQ’s
Begin your compost pile directly on the ground. This provides a habitat for worms and other beneficial organisms that aid in compost aeration and transfer to garden beds. Start with a layer of twigs or straw, a few inches deep, to facilitate drainage and enhance aeration. Layer your compost materials, alternating between moist and dry components.
Incorporate ‘green’ waste like annual weeds, vegetable peelings, and leafy debris into your compost. Integrate ‘brown’ waste such as shredded woody prunings and cardboard for a balanced mixture. Whether you have a small or large compost bin, select the size that fits your space and waste volume. Optimal placement for your compost bin is a sheltered, shaded area, preferably directly on the soil.
Three Essential Elements: Food, Water, and Air. The core principles of composting revolve around establishing an optimal environment for the organisms involved in the decomposition process. Compost functions as a living ecosystem, fostering a intricate network of microbes and various other organisms.
Ready to start composting?
Homemade compost is generally as nutritious as the compost you buy in bags in garden centres, so save yourself some money and get a new hobby!
It’s nutrition you’re throwing away, so make the most of it.
Happy composting!
-
Orchids: A Complete Guide on How to Care for ThemWant to give your orchid the best possible care? Discover essential tips from placement to watering and pruning. Learn everything you need to know!Read more
-
Growing Wisteria Made Simple: From Planting to Perfect BloomsWith blossoms like a purple waterfall, Wisteria sets an almost magical and colourful mood. If you want to grow this beauty in your garden, you’ll need a bit of patience. Don’t worry, it will most definitely pay off.Read more
-
How to Build a DIY Greenhouse: A Practical Guide for Smart SpendersImagine extending your growing season throughout the year, nurturing tender plants regardless of the weather, and creating a personal garden sanctuary. This is precisely what a DIY greenhouse offers you. Let’s learn how to build one.Read more
-
How to Grow Eucalyptus in British GardensWith a little love and care, eucalyptus trees can thrive in English gardens. Since they don’t germinate well without proper help, there are not considered invasive. So, there is no reason not to plant them if you enjoy their looks.Read more
-
Transform Your Garden with All-Year-Round Flowering PlantsDid you know you can enjoy blooming flowers even in January? With the right selection of all year round plants, there’s no need to wait until spring to add some colour to your garden.Read more
-
How to Create a Butterfly Garden: A Simple Guide for British GardensThe UK's butterfly population includes 59 different species. These beautiful winged creatures face a steady decline because of habitat loss, pollution and changing weather patterns. Your garden can become a vital link between nature reserves and natural habitats. Let’s explore how.Read more
-
Volcanic Rock Dust for Your Garden—Application and TipsDid you know that volcanic rock dust is a brilliant organic soil improver? This article explains exactly what it's good for and how to use it properly.Read more
-
How to Use Landscape Fabric ProperlyIf weeds or erosion in your garden are troubling you, landscape fabric might be the solution. We’ll explain how and when to use it properly, just keep on reading.Read more
Leave a comment
Your answer will be displayed on the site and the interested party will be notified by email.
Leave a comment
Have a question or want to share your experience? Leave us a comment.
- Order by 2PM = shipped today
- 250.000+ satisfied customers!
- 60 day satisfaction guarantee
- Order by 2PM = shipped today
- 250.000+ satisfied customers!
- 60 day satisfaction guarantee
🌱 All important maintenance moments for your lawn during the year. Leave your email and we will send you the lawn calendar for free.
Enter your email
Receive the lawn calendar in the mail
Enjoy a green lawn all year round!








Comments (0)
There are no comments yet. Well then, what are you waiting for to
Be the first to write your comment!inaugurate this pretty page?
Do you have some comments?