Log in or create new account to save this product to your wishlist.
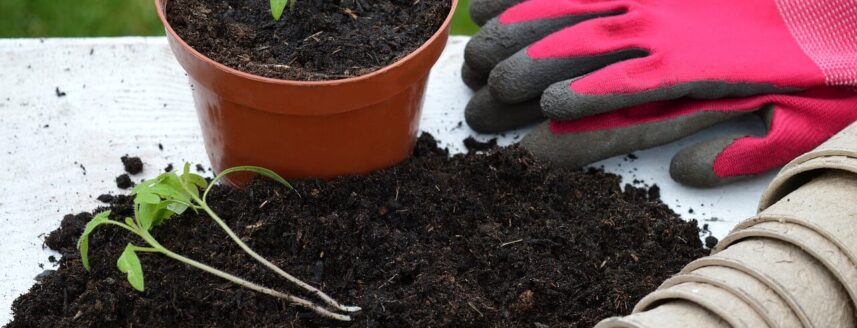
When & How to Repot a Plant the Right Way
Ready to give your plants a new home? Find out when and how to repot a plant effectively for healthier, happier greenery.
🌱 All important maintenance moments for your lawn during the year. Leave your email and we will send you the lawn calendar for free.
Enter your email
Receive the lawn calendar in the mail
Enjoy a green lawn all year round!

- Order by 2PM = shipped today
- 200.000+ satisfied customers!
- 60 day satisfaction guarantee
Repotting your plants may seem intimidating at first. Understanding why repotting is important and how to do it properly is crucial.
We will explain when and how to repot a plant the right way!
What is repotting
Repotting involves transferring a rooted plant into a decorative pot. The new pot is slightly larger than the one your plant originated from. Even with new acquisitions, it’s better to repot your plant first (rather than placing it ‘with the plastic pot intact’ in the decorative pot).
You might have also heard of the term potting up, which refers to placing cuttings in potting soil to root.
Why should you repot plants?
Repotting plants is an essential part of caring for your green friends. Over time, potting soil often becomes depleted, no longer providing nutrients. It can also become too compact, restricting your plant’s roots from growing.
By repotting your houseplants, you give them the space they need to remain healthy and happy, preventing suffocation. Outdoor potted plants also need repotting from time to time.
In addition to providing more space, repotting also gives you the opportunity to check your plant’s health. During repotting, you can inspect the roots and quickly identify any problems such as root rot or pests.
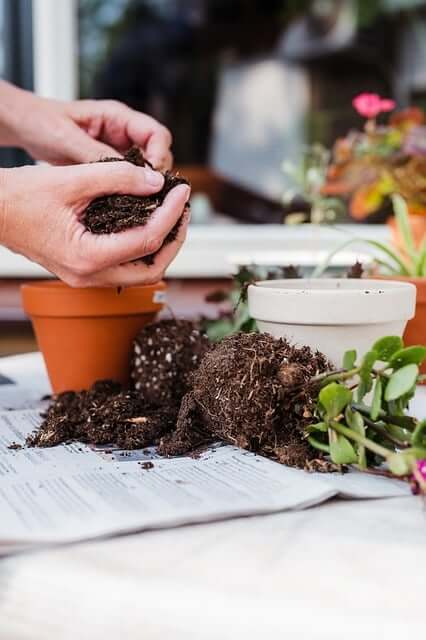
When to repot plants?
How often you repot a plant depends on the species and size of the plant. Knowing when to repot plants is crucial for giving them the attention they need. There are several signs indicating your plant is ready for repotting:
- Roots emerging from the drainage holes of the pot.
- Your plant no longer grows well and seems to struggle.
- The potting soil dries out extremely quickly, requiring frequent watering.
- Your plant begins to burst out of its pot, indicating the roots have outgrown the current pot.
It’s best to repot flowering plants after the blooming period, as transplanting can shock the plant, potentially shortening the blooming period. Avoid repotting plants in winter if possible. If unavoidable, take extra care not to damage the roots, as plants recover more slowly in winter.
Preparing your plant for repotting
Before you start repotting your plant, it’s important to prepare it properly. Here’s how:
- Watering: give your plant a good amount of water approximately an hour before repotting. This ensures the roots are well-hydrated, making repotting easier.
- Cleaning: inspect the plant for any pests and remove dead leaves or flowers. Use a soft cloth to wipe dust off the leaves if necessary.
- Removing from the pot: gently tap the bottom of the pot to loosen the roots. Use scissors to trim the pot slightly if necessary. Carefully remove the plant from the pot, holding it gently by the stem or leaves to avoid damaging the roots.
Now that your plant is well-prepared, let’s proceed with the actual repotting. You may want to use gloves or wrap the plant in newspaper (useful for spiky plants like cacti).
Step-by-step guide to repotting plants
Follow these simple steps to successfully repot your plants:
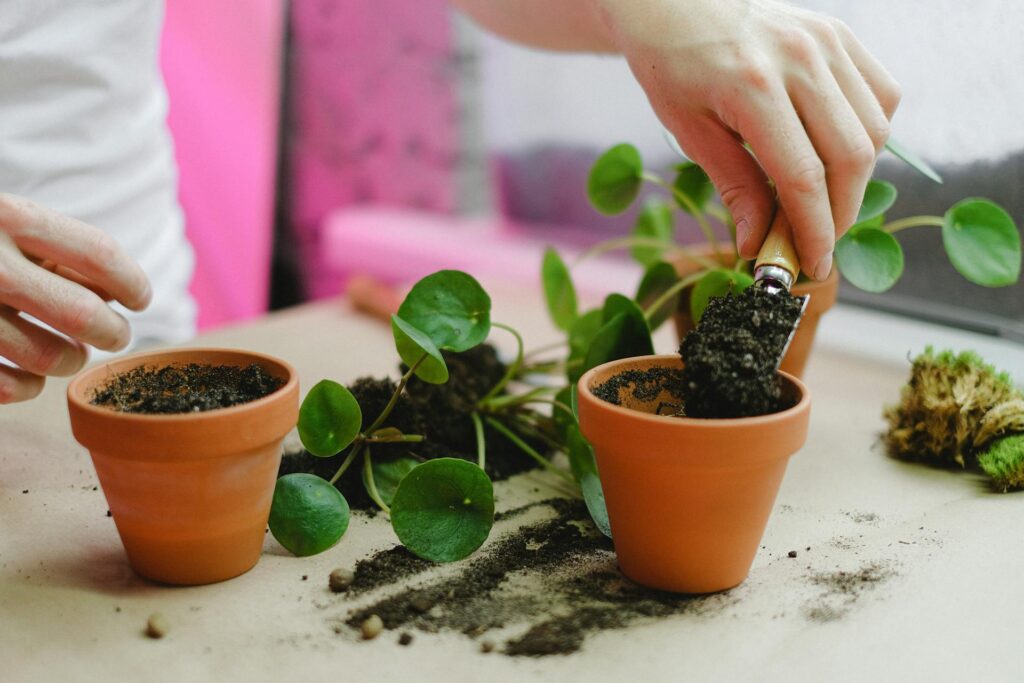
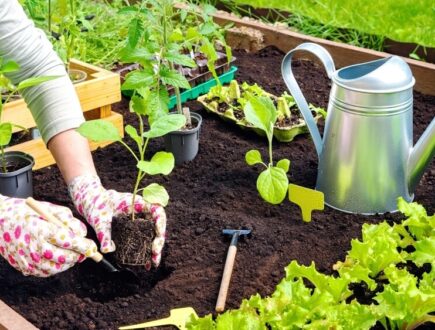
- Place a layer of fresh potting soil in the new decorative pot to provide the plant with nutrients and adequate drainage. If the pot lacks drainage holes, consider adding some clay pebbles to ensure excess water can drain away.
- Loosen the roots of your plant and remove any old potting soil. Be gentle and try to minimize root damage.
- Place the plant in the new pot and fill the remaining space with fresh potting soil. Ensure the plant is stable but not buried too deep in the pot.
- Gently press down the potting soil and water your plant to hydrate the roots.
By following these steps, you ensure your plant is repotted successfully and has the best chance to thrive.
Tips for repotting successfully
In addition to the step-by-step guide, here are some tips that can help you successfully repot your plants:
- Choose the right time: the best time to repot your plants is in spring when they start growing. This gives the plants the best chance to establish themselves in their new pot.
- Use the right potting soil: different plants have different needs when it comes to potting soil. Make sure you choose the right potting soil for your plant’s specific requirements.
- Be patient: give your plants time to adjust to their new pot. Don’t expect immediate results, but allow them time to acclimatise and grow.
Choosing the right pot for repotting
When repotting your plant, choosing the right pot is essential. There are several factors to consider when making your choice:
- Size: choose a pot that is slightly (about 20%) larger than your plant’s current pot. This provides the roots with enough room to grow while preventing the potting soil from drying out too quickly.
- Material: terracotta pots are popular for their breathable properties, but plastic pots are lighter and easier to handle. Choose the material that best suits you and your plant.
- Drainage: make sure the pot has drainage holes to allow excess water to drain away. This prevents root rot and helps regulate the moisture level of the potting soil.
Common mistakes when repotting plants
While repotting plants is relatively straightforward, there are some common mistakes that beginners often make. Here are a few mistakes to avoid:
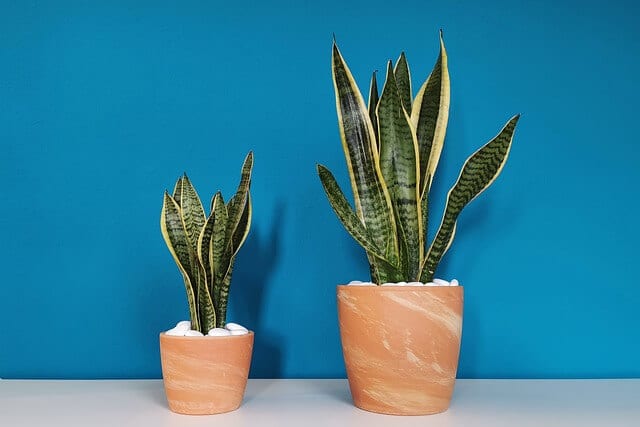
- Choosing a pot that is too large: choose a pot that is only a few centimeters larger than your plant’s current pot. A pot that is too large can lead to overwatering and root rot.
- Forgetting to loosen the roots: it’s important to gently loosen the roots before placing the plant in the new pot. Otherwise, the roots may become suffocated, and the plant won’t grow well.
- Planting too deeply: make sure you don’t plant the plant too deep in the pot. The top of the roots should be just below the surface of the potting soil.
By avoiding these common mistakes, you ensure that your plants remain healthy and happy after repotting.
Aftercare for repotted plants
After successfully repotting your plants, it’s important to give them the right aftercare. Here are a few tips to ensure your plants thrive:
- Give your plants plenty of water: keep the potting soil moist but avoid overwatering. Water your plants when the top layer of potting soil feels dry.
- Place your plants in the right spot: each plant has its own light requirements, so do some research on your plant’s specific needs.
- Fertilise regularly: feed your plants regularly to ensure they receive enough nutrients to grow. Use a balanced fertiliser suitable for houseplants.
Final notes: How to repot your plants successfully
Repotting plants may seem a bit overwhelming, but with the right knowledge and preparation, it’s a breeze. By choosing the right pot, preparing your plant properly, and following the step-by-step guide, you ensure healthy plants.
Do you have a tip of your own? Let us know in the comments below!
Now that you’ve read this ultimate guide on how to repot a plant the right way, learn about the surprising benefits your houseplants have for you, and which houseplants are safe for your pets!
Good luck and enjoy your green adventure!
-
How & When to Fertilise the Vegetable GardenWant to be sure of a successful harvest? Discover the best ways to fertilise your vegetable garden and maximise the yield.Read more
-
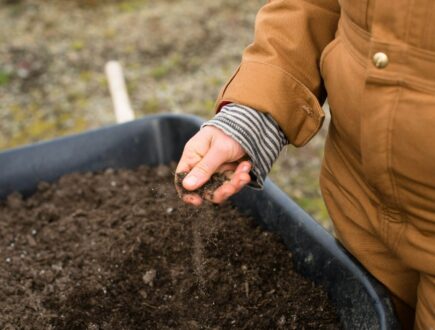
Potting Soil VS Garden Soil: What is the Difference?Choosing between potting soil and garden soil is more than just convenience. Knowing the differences will help your plants grow well in their surroundings.Read more
-
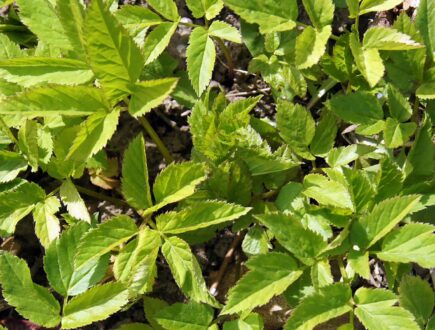
How To Get Rid of Ground Elder EffectivelyGround elder is a persistent weed that grows fast in your garden. Find out how to recognise, control and get rid of ground elder.Read more
-
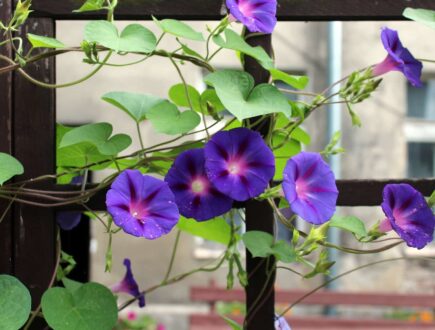
How to Get Rid of BindweedWe are sharing our effective strategies for managing and getting rid of hedge bindweed and field bindweed, a common perennial weed in the UK.Read more
-
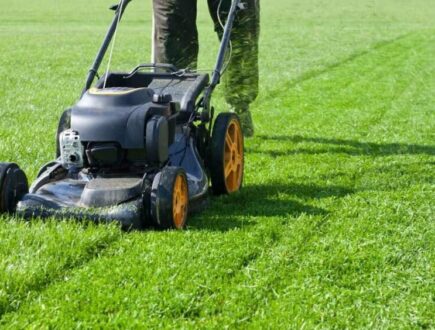
The 6 Most Common Lawn Care Mistakes in SpringIn spring, how do you make sure you can really do something for your lawn so that it starts looking better without putting even more strain on it?Read more
-
How Long Does Grass Seed Last?When you buy grass seed, you often end up with large quantities. We will explain how long grass seed keeps for and how it can be stored properly.Read more
-
How To Get Rid of Ticks in the GardenGet rid of ticks in your garden naturally and protect your family from tick bites. Learn how to keep your outdoor space safe and tick-free.Read more
-
Preparing your Vegetable Garden for SpringPrepare your vegetable garden for spring: Start early for a successful harvest! Discover practical tips and steps to get your garden ready.Read more
Leave a comment
Your answer will be displayed on the site and the interested party will be notified by email.
Leave a comment
Have a question or want to share your experience? Leave us a comment.
- Order by 2PM = shipped today
- 200.000+ satisfied customers!
- 60 day satisfaction guarantee
- Order by 2PM = shipped today
- 200.000+ satisfied customers!
- 60 day satisfaction guarantee
- Order by 2PM = shipped today
- 200.000+ satisfied customers!
- 60 day satisfaction guarantee

🌱 All important maintenance moments for your lawn during the year. Leave your email and we will send you the lawn calendar for free.
Enter your email
Receive the lawn calendar in the mail
Enjoy a green lawn all year round!










Comments (0)
There are no comments yet. Well then, what are you waiting for to
Be the first to write your comment!inaugurate this pretty page?
Do you have some comments?