Log in or create new account to save this product to your wishlist.

When & How to Plant Tulip Bulbs — A Step-By-Step Guide
Tulips are a delightful sign that spring has sprung. But you need to know how to care for them for years of beautiful blooms.
🌱 All important maintenance moments for your lawn during the year. Leave your email and we will send you the lawn calendar for free.
Enter your email
Receive the lawn calendar in the mail
Enjoy a green lawn all year round!

- Order by 2PM = shipped today
- 250.000+ satisfied customers!
- 60 day satisfaction guarantee
If there’s a flower that screams spring, it’s the tulip. Whether in your garden or your balcony, tulips are one of the unmistakable portents of spring. But if you’re planting tulip bulbs this spring, there might be some top tips you’re missing.
- The colourful world of tulips
- When is Tulip time, exactly?
- When to get planting your tulip bulbs
- Should I plant tulips in pots or beds?
- Planting tulip bulbs in the ground
- Planting tulip bulbs in pots
- Planting tulip bulbs — how deep and how far apart?
- How and when to plant tulip bulbs — a step-by-step guide
- Should you dig up your bulbs after flowering?
- Cleaning and storing tulip bulbs
- FAQs
And while tulips are pretty simple to grow and nurture, there are some essential things to know to get the best crop possible.
In this article, I’ll explain when and how to plant tulip bulbs, along with a step-by-step guide to planting them and caring for them year-in-year-out.
Let’s get started!
The colourful world of tulips

Tulips come in a wide variety of bright, vibrant colours and, with their delicate cup-shaped petals, are among the most favoured spring flowers in the UK. The most popular tulip colours are pink or red, but they’re also available in yellow, purple, and white.
Some tulip varieties offer single-coloured blooms, while others provide flowers of two or more sunny tones. And there are around 150 tulip varieties, spanning over 3000 different colours.
Of course, most of us associate tulips with the Netherlands. And if you’ve ever been lucky enough to stroll through a Dutch flower market, you’ll have been seduced by the different colours and sizes that are easily transferred into your garden.
-
Spring Boost Lawn Fertiliser
Delivered tomorrow
11.99- Order by 2PM = shipped today
- 250.000+ satisfied customers!
- 60 day satisfaction guarantee
-
Quick Repair Grass Seed
Delivered tomorrow
12.99- Order by 2PM = shipped today
- 250.000+ satisfied customers!
- 60 day satisfaction guarantee
-
Scarifying Kit
Delivered tomorrow
37.99- Order by 2PM = shipped today
- 250.000+ satisfied customers!
- 60 day satisfaction guarantee
When is Tulip time, exactly?
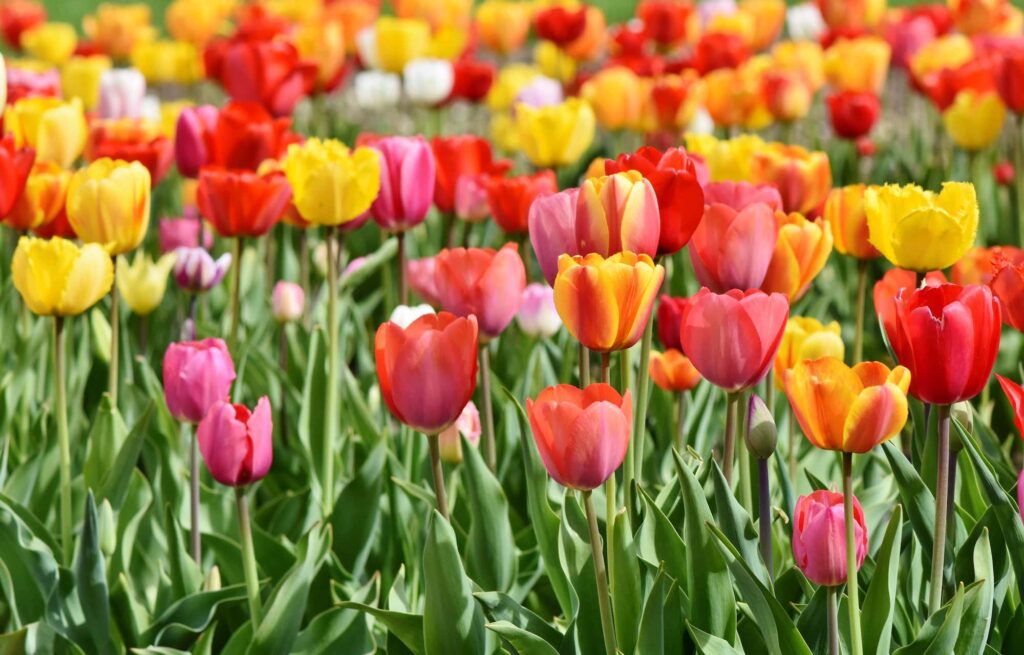
Tulip bulbs usually begin blooming in late spring (around April or May), offering flowers that last for two to three weeks. But, of course, it depends on the weather. The exact time depends on your location, how much sun your garden enjoys, and the tulip variety.
Two-to-three weeks might feel like a short flowering window. This is why many tulip fanatics create a flowering schedule and plant according to when the bulbs are due to bloom.
So, for a longer blooming window, gather together early, mid, and late bloomers — that way, you’ll have beautiful tulips throughout the spring.
When to get planting your tulip bulbs
It might be too late to get tulips in the ground for this flowering season; you need to plant the bulbs in the autumn for the following year. So, depending on the time of year you’re reading this article, it might be a case of being prepared for next year’s crop.
Use this as your rough autumn tulip bulb planting guide:
- Plant early blooms in October
- Mid and late bloomers from November to December.
The soil temperature needs to be between 7 and 10℃ for late- and mid-season bloomers, so don’t wait until the temperature has dropped too low.
Why planting tulip bulbs in October makes sense
Planting tulip bulbs in March won’t produce flowers in April because the bulb needs to experience a cold snap to bloom in spring. Tulip bulbs are frost-tolerant, and a spell of frost helps prepare the bulb for the new flowering season.
If the soil temperature is too high when you plant your bulbs, they may rot before they’ve had a chance to flower.
Therefore:
Keep an eye on the weather forecast, and invest in a reliable soil thermometer. Farmer’s wisdom suggests planting tulip bulbs as soon as the tree leaves change colour in the autumn and begin to fall.
But always ensure the soil isn’t too wet or already frosty when planting.
Should I plant tulips in pots or beds?
Tulip bulbs are easy to grow and require very little care. That’s why it doesn’t matter whether you plant your bulbs in a pot or a flower bed, making tulips the perfect flower for novice gardeners.
Wherever you plant them, follow these top tips for tulip nirvana:
- Tulips love full sun but can cope with light shade
- Let the rainwater your tulip plants
- Only water your tulip plants in prolonged dry periods of more than three weeks
- Tulips love moist, not soggy soil
Can I grow tulips in a shady garden?
While tulip plants thrive in full sun, they’ll still cope in gardens or yards that only get a short period of daily sunshine in the morning or afternoon.
Planting tulip bulbs in the ground
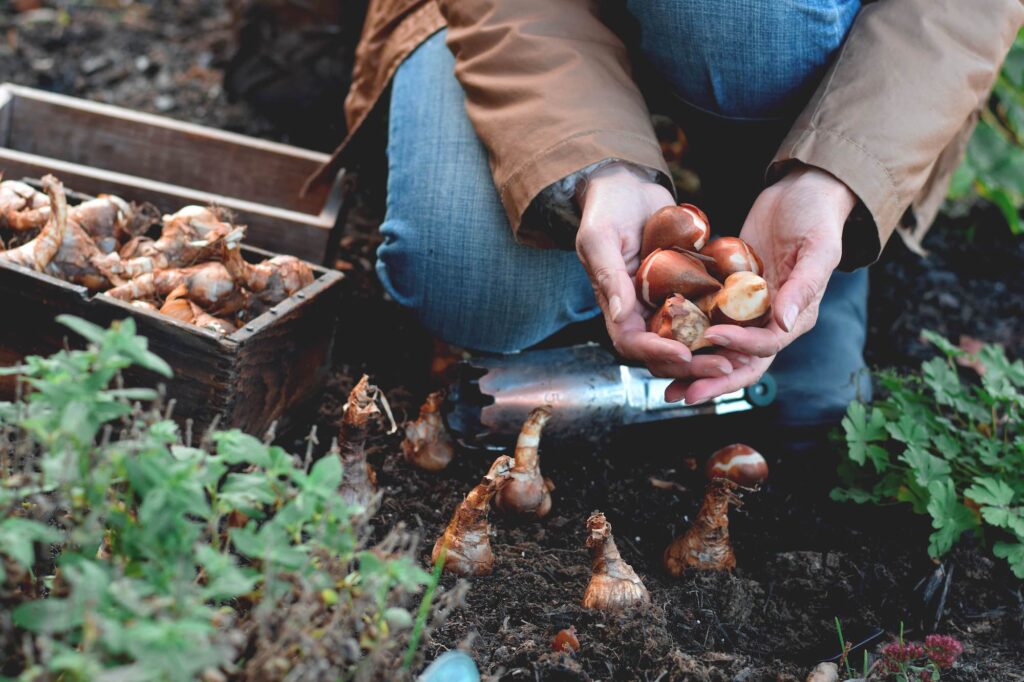
Tulips are excellent flowerbed plants. But prepare the soil before you plant the bulbs because they prefer well-drained, loose, sandy soil.
Loosen compacted soil with a shovel or garden fork, and mix in some sand. You could also add organic matter like compost or peat moss to improve the soil’s fertility and drainage.
Check out our ultimate guide to planting bulbs.
Planting tulip bulbs in pots
As tulips are undemanding plants, they’re equally happy in pots or a flowerbed. So, if you’re considering ways of brightening up your patio or decking area, you could do worse than grow beautiful tulips in pots.
Pots make perfect homes for tulip bulbs, especially as you can bring the pot inside during the winter. More about overwintering later.
How to plant tulips in pots
First, prepare your pot. Ensure it has drainage holes; otherwise, the bulbs will rot and die.
If you can’t drill holes in your pot, fill the bottom of the container with broken pieces of terracotta — this will help draw excess water away from plant roots. Add several layers of broken pieces to ensure plenty of drainage space.
I recommend adding universal potting soil — filling the pot to the top.
Now it’s up to you to choose how lush you want your tulip pot to look. If you’re after a few statement blooms, plant them in a circle around the centre of the pot. If you want a packed crop, plant another circle of bulbs closer to the edge of the pot — this way, the leaves will hang over the edges of the pot.
Planting tulip bulbs — how deep and how far apart?
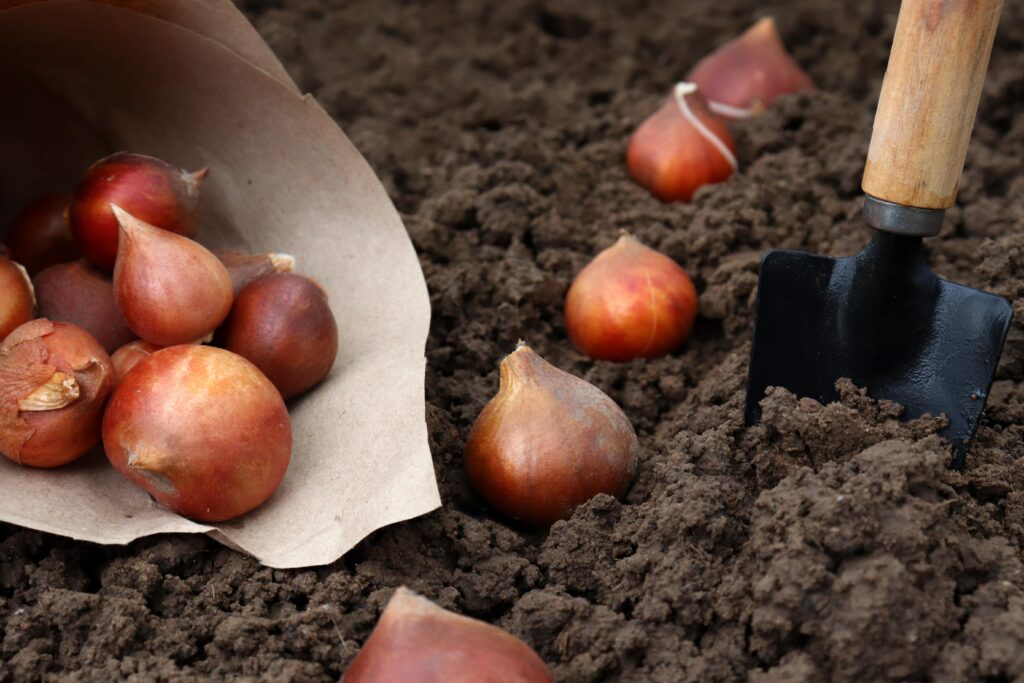
You can pack tulip bulbs quite closely together. But how exactly do you plant them?
Well, choose:
- The correct depth: Plant tulip bulbs 3-times as deep as the bulb is tall (from top to bottom). Always plant with the growing tip pointing upwards.
- The correct spacing: Make sure you give the bulbs enough room to grow and develop. Go for 4-5cm apart in pots or 4-6cm apart in beds.
Prepare the bed as described earlier and cover the bulbs with soil, pressing down lightly to keep them in position. Water well to help the bulbs settle in their new home.
How and when to plant tulip bulbs — a step-by-step guide
Now that you’ve chosen your tulip bulbs (and know how deep and far apart they need to be), it’s time to prepare the ground.
Step 1: Prepare the ground
As mentioned, it’s essential to loosen compacted soil with a spade, mixing some horticultural sand in with the topsoil to improve drainage. Add some compost for extra nutrients and improved soil density, which helps support future nutrient uptake.
Ensure the soil beneath the bulb is loose, debris-free and not compacted; otherwise, the bulbs won’t be able to take root.
If planting in a pot, make sure it has plenty of drainage holes or add broken terracotta shards to the bottom of the container to provide drainage space.
Step 2: Plant your tulip bulbs
Most tulip bulbs are around 5cm in length, so bury them around 15cm into the ground (i.e., 3x the length of the bulb). Plant the bulb growing-end up.
Step 3: Mulch the soil
Mulch helps maintain moisture during hot weather and keeps the bed warm when it’s cold. So, add a 2-3cm layer of mulch over the top of your soil — don’t mix it in; let it sit on top of the earth.
Step 4: Water and wait
Your bulbs need some time to settle into their new environment, so plant them two seasons before flowering. Water them regularly for a few weeks just after planting (but not when it’s frosty), and then leave the rest of the watering to nature.
Tulip aftercare
Tulips need moisture to grow, but once your bulbs have settled, you shouldn’t need to water them if they’re exposed to the elements because the rain will do that for you. Never overwater tulip bulbs because they’ll rot.
Stop watering entirely once the first frost has taken hold to prevent ice crystals from developing inside the bulbs.
Your tulips will emerge once the soil temperature reaches 7℃. Once they start growing, add a universal flower fertiliser to boost growth.
Should you dig up your bulbs after flowering?
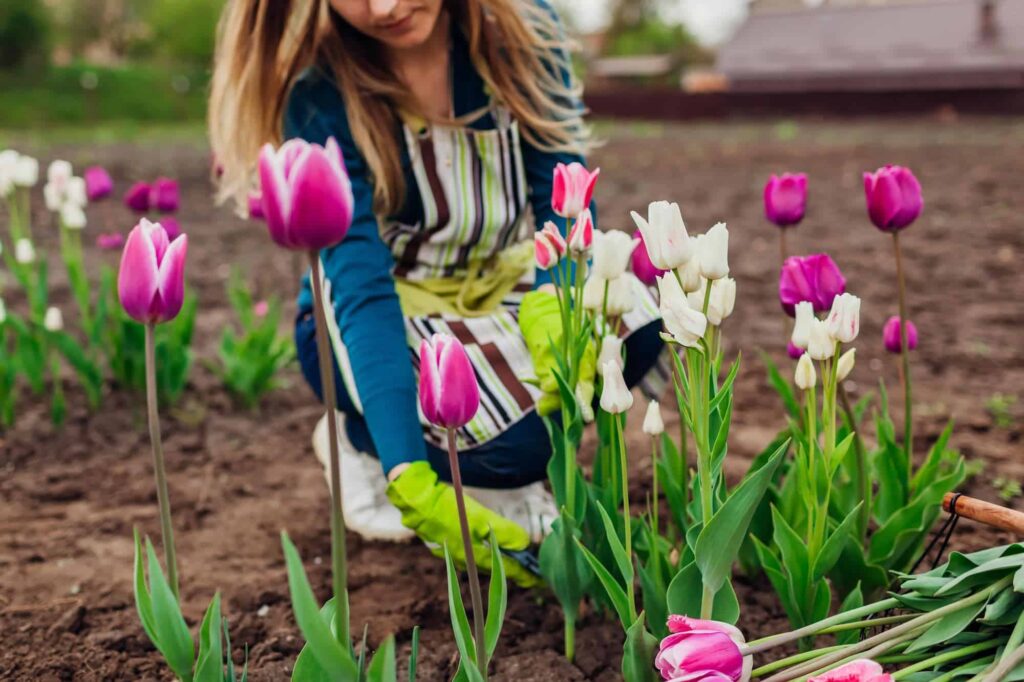
Once your tulips have flowered and the blooms have died back, you’ll notice that the leaves start wilting.
At this stage, it’s essential to remove the stem and the leaves to help the plant draw its energy back into the bulb. But don’t remove the foliage too quickly — allow it to turn yellow first, which should take around a month. Cutting back too soon results in weaker blooms the following year.
There’s no need to dig up your tulip bulbs — they’ll reflower the following year.
However:
If your plants start producing fewer blooms, be sure to deadhead the flowers as soon as they wilt to prevent the plant from putting its energy into developing seeds.
This applies to tulip bulbs both in soil and in pots.
Cleaning and storing tulip bulbs
Some people lift their tulip bulbs after flowering because they can rot in heavy clay soil if the ground gets too wet. Alternatively, you may have bought too many bulbs to plant in one go or before planting time.
So, keeping the tubers clean and dry is essential — but quite simple:
- Clean the tulip bulbs before storing them. This reduces disease and pest potential. Remove coarse dirt, then rinse the bulb in cold water. Be sure to dry it thoroughly, using a dabbing action. Leave it to dry completely before storing.
- Store your bulbs in a cool, dry place. A paper bag or box works best as it allows airflow while keeping the bulbs cool and dry. Label the container with the date and the tulip variety, making replanting in October much easier.
FAQs
You can plant tulip bulbs in spring, but they won’t bloom until the following year. You might be lucky if you’ve had a mild winter and the soil is warm, but — in general — we recommend planting tulip bulbs between October and December, depending on the variety.
Tulips are spring bloomers, so you should plant them in the autumn. This gives the bulb time to settle and establish itself in the ground before bursting into life the following spring. You can leave bulbs in the ground after flowering, but dig them up if you have heavy clay soil that gets waterlogged, as they could rot.
It depends on the tulip variety: some are annual, others perennial. You could experiment with annuals by leaving them in the ground — chances are, they’ll return next spring. However, they will provide smaller flowers.
Ready to get planting?
I hope you’ve got all the information you need to get planting your tulip bulbs. But if you have any questions, don’t hesitate to get in touch.
We love to hear from you and promise to reply as soon as we can.
Thanks for reading.
-
How to Grow Eucalyptus in British GardensWith a little love and care, eucalyptus trees can thrive in English gardens. Since they don’t germinate well without proper help, there are not considered invasive. So, there is no reason not to plant them if you enjoy their looks.Read more
-
Transform Your Garden with All-Year-Round Flowering PlantsDid you know you can enjoy blooming flowers even in January? With the right selection of all year round plants, there’s no need to wait until spring to add some colour to your garden.Read more
-
How to Create a Butterfly Garden: A Simple Guide for British GardensThe UK's butterfly population includes 59 different species. These beautiful winged creatures face a steady decline because of habitat loss, pollution and changing weather patterns. Your garden can become a vital link between nature reserves and natural habitats. Let’s explore how.Read more
-
Volcanic Rock Dust for Your Garden—Application and TipsDid you know that volcanic rock dust is a brilliant organic soil improver? This article explains exactly what it's good for and how to use it properly.Read more
-
How to Use Landscape Fabric ProperlyIf weeds or erosion in your garden are troubling you, landscape fabric might be the solution. We’ll explain how and when to use it properly, just keep on reading.Read more
-
Hostas: A Complete Care GuideIf you have a north-facing garden or some shady corners on your property, hostas are the plants for you. These green delights thrive particularly well in partial to full shade and require consistently moist soil to perform at their best.Read more
-
How to Grow Grapes in Your Garden: A Simple Step-by-Step GuideGrapevines produce some tasty fruits, but often they are simply grown for their gorgeous leaves. Whatever your motivation may be, we have a guide on how to grow grapes for you.Read more
-
Worm Composting Made Simple: From Kitchen Scraps to Garden GoldDid you know that a single pound of composting worms can devour half their body weight in waste every day? That's roughly twelve pounds of kitchen scraps transformed into garden gold each month! We will look at how to make this happen.Read more
Leave a comment
Your answer will be displayed on the site and the interested party will be notified by email.
Leave a comment
Have a question or want to share your experience? Leave us a comment.
- Order by 2PM = shipped today
- 250.000+ satisfied customers!
- 60 day satisfaction guarantee
- Order by 2PM = shipped today
- 250.000+ satisfied customers!
- 60 day satisfaction guarantee
- Order by 2PM = shipped today
- 250.000+ satisfied customers!
- 60 day satisfaction guarantee

🌱 All important maintenance moments for your lawn during the year. Leave your email and we will send you the lawn calendar for free.
Enter your email
Receive the lawn calendar in the mail
Enjoy a green lawn all year round!










 Summer Deal! Get 15% off the


Comments (0)
There are no comments yet. Well then, what are you waiting for to
Be the first to write your comment!inaugurate this pretty page?
Do you have some comments?