 60 day satisfaction guarantee
  Order by 2pm for next day delivery
  250.000 + satisfied customers
 Log in or create new account to save this product to your wishlist.
11 MIN
05 Feb
Last update:
14 Feb 2025
Worm Composting Made Simple: From Kitchen Scraps to Garden Gold
Did you know that a single pound of composting worms can devour half their body weight in waste every day? That's roughly twelve pounds of kitchen scraps transformed into garden gold each month! We will look at how to make this happen.
Free download
Do you want a lawn calendar?
🌱 All important maintenance moments for your lawn during the year. Leave your email and we will send you the lawn calendar for free.
Enter your email
Receive the lawn calendar in the mail
Enjoy a green lawn all year round!
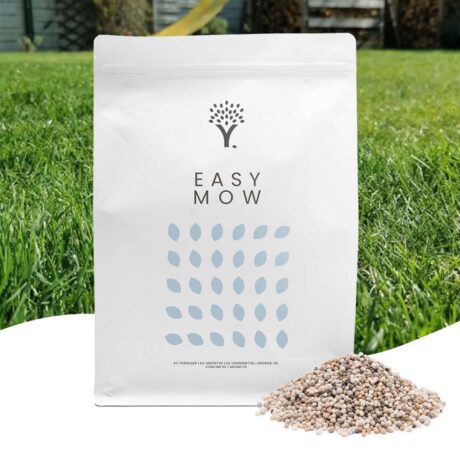
MOOWY's Choice
Plant Fertiliser
The most versatile fertiliser available | Universal garden fertiliser | Suitable for lawn, vegetable garden, flowers, and boxwood
9.99
 Out of stock
View
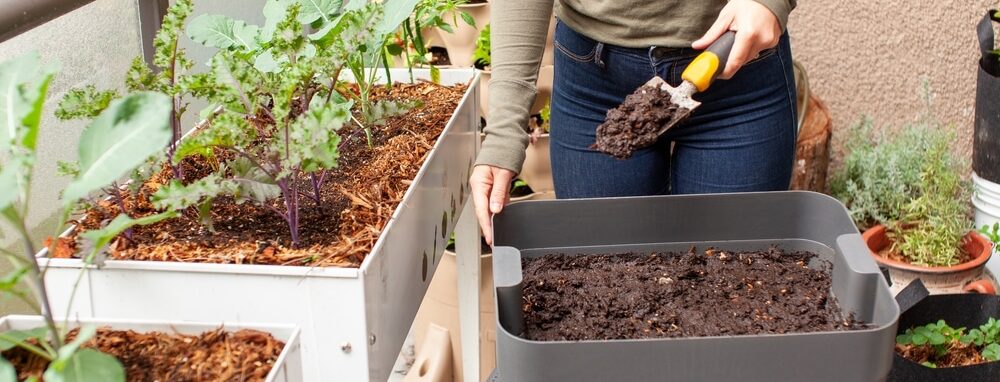
Whether you live in a big house or a small flat, worm composting is a great way to get rid of food waste. This natural process only takes 30 minutes a week and can be done anywhere, from homes to offices to schools.
Table of contents:
Show all
- Why start a worm farm?
- Essential components of a wormery
- What do worms eat?
- Maintaining your worm composting system
- Harvesting and using your garden gold
- FAQs about worm farming
- When will you start your worm farm?
The best part? Setting up your own worm farm won’t cost a fortune. A homemade worm bin costs around £30, while a ready-made wormery typically runs no more than £150. These industrious creatures work tirelessly to convert your kitchen scraps into rich, dark soil conditioner that your plants will absolutely love.
Ready to turn your food waste into free, nutrient-rich fertiliser through worm composting?
Why start a worm farm?
Food waste poses a significant environmental challenge. Food waste in the UK generates approximately 25 million tonnes of greenhouse gas emissions annually. It’s also costly. The average household spends £470 on food that ends up in the bin anyway. So why not reinvest it in your own worm farm, that makes nice soil for all your garden?
Environmental impact of kitchen waste
Starting a worm farm directly addresses environmental concerns. A single pound of red worms can process 65 pounds (ca. 29 kg) of food scraps in less than three months. Moreover, worm composting helps preserve precious resources. Not to forget: When handling the waste disposal at home, you actively reduce the emissions that otherwise would be necessary to handle said disposal.
Saving costs and getting fertiliser
Worm composting offers substantial financial benefits compared to traditional fertilising methods. Furthermore, your worm farm produces two valuable products:
- Vermicast (worm castings)—rich in nitrogen and potassium
- Worm tea (let’s not dwell on the name)—a concentrated liquid fertiliser that needs diluting at a 1:10 ratio with water
These natural fertilisers eliminate the need for expensive commercial products. Additionally, some local authorities offer subsidies or discounts on composting equipment, which can include worm farms. For example, Islington Council in London provides a subsidy for compost bins and wormeries.
Year-round indoor composting benefits
Worms actively help compost food in scraps in temperatures between 4 and 26 °C. That’s why outdoor composting slows down significantly during winter months. Indoor wormeries, however, maintain consistent productivity throughout the year.
The space-efficient nature of worm farming also makes it particularly suitable for urban living. Whereas traditional compost piles require at least three cubic feet of space, a worm bin fits neatly under a kitchen sink or in a closet. An established wormery can function without new food additions for up to four weeks, offering flexibility for busy households or during holiday periods.
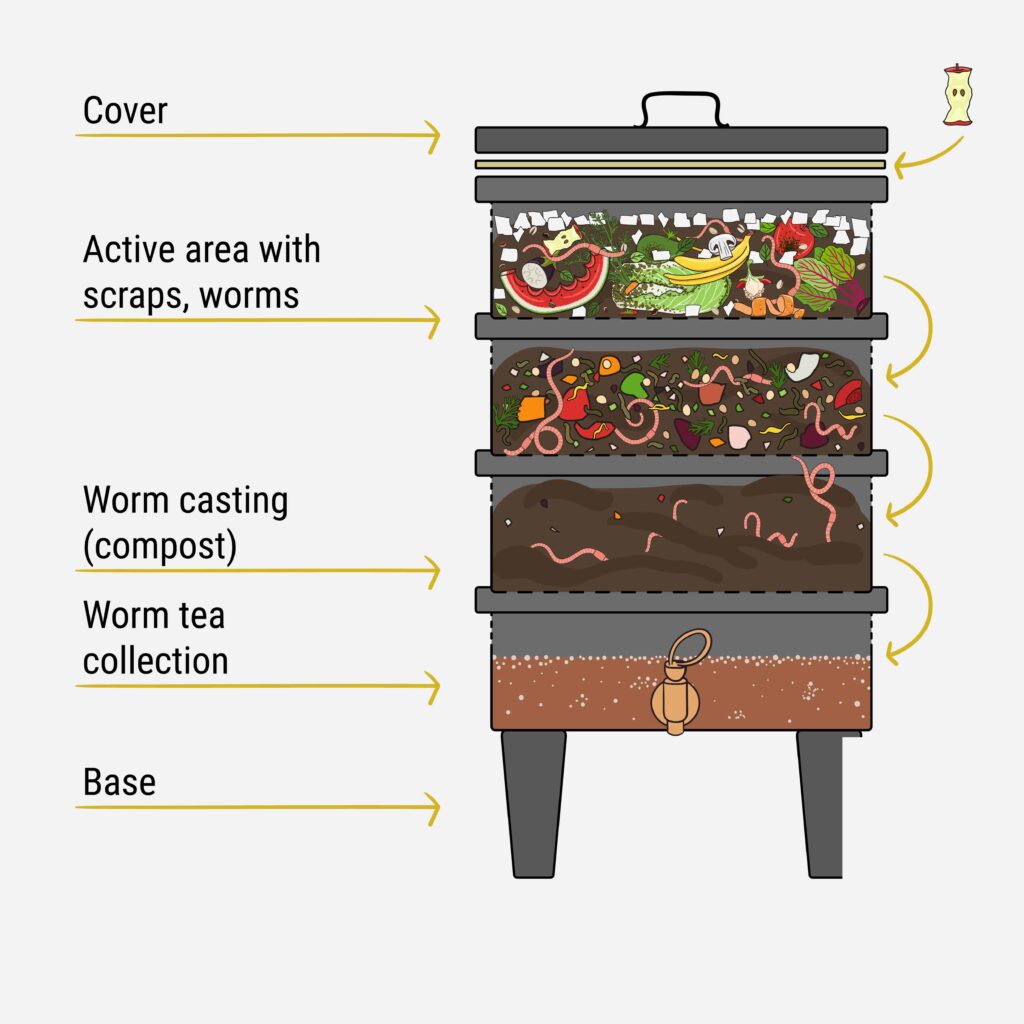
Essential components of a wormery
Setting up a successful wormery requires careful consideration of three essential components: the right container, suitable worms, and proper bedding.
Choosing the right worm bin setup
Your wormery options include stacking systems, single-chamber bins, and flow-through containers. Stacking systems, consisting of multiple trays with mesh bases, allow worms to move upward as they process waste. Single-chamber bins offer simplicity but require complete emptying for harvest. Flow-through systems enable continuous harvesting from the bottom while feeding continues at the top.
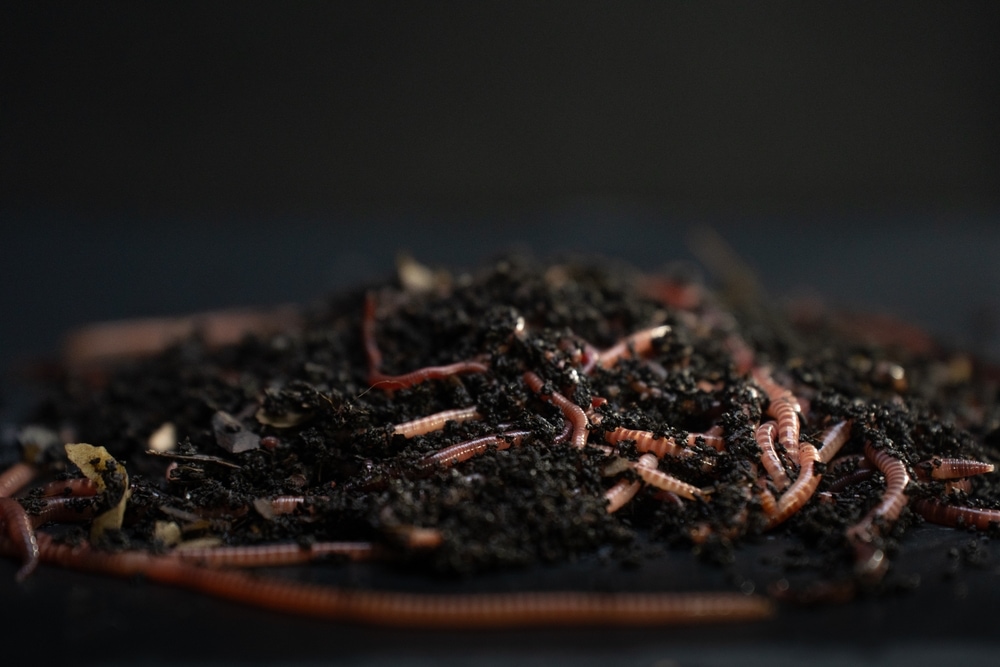
Best worms for composting success
Red Wigglers (Eisenia fetida) stand out as the most adaptable composting worms, thriving in temperatures between 15–25 °C. They process organic matter swiftly and breed effectively in various conditions. Indian Blues (Perionyx excavatus) offer another excellent choice, operating best between 7-29 °C and processing waste even faster than Red Wigglers. European Nightcrawlers (Dendrobaena hortensis) work well in outdoor systems but prefer deeper soil conditions.
Creating the perfect bedding environment
The bedding serves dual purposes: providing food and creating structure for your worms. An ideal bedding environment maintains 80% moisture content and supports proper airflow. For optimal results, combine these materials:
- Shredded cardboard or newspaper (untreated)
- Aged compost or well-rotted manure
- Coconut coir or peat moss
- Wood chips (chemical-free)
Your worm bedding requires consistent monitoring of three critical factors. First, maintain moisture levels similar to a damp sponge. Second, ensure temperatures stay between 18–25 °C for peak activity. Third, keep the pH between 6.5-7.0 using crushed eggshells or agricultural lime if needed.
Against sour pH in wormeries
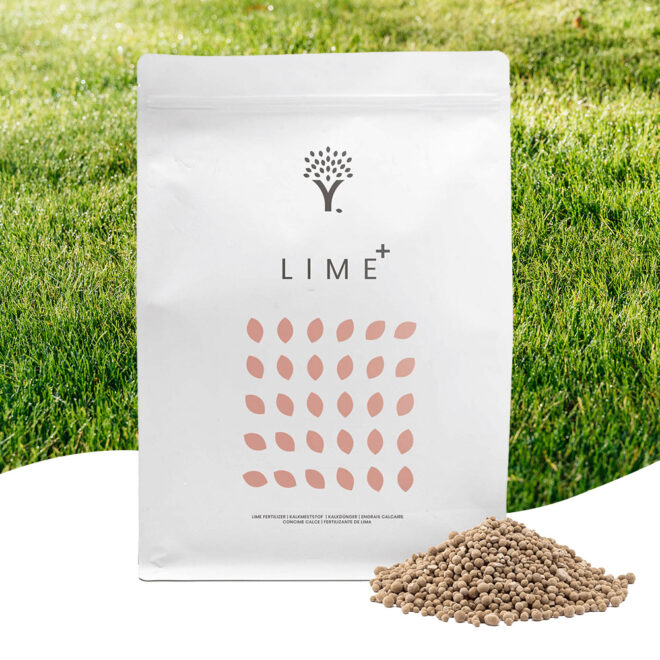
Against sour pH in wormeries
Lawn Lime
- Resealable packaging for maximum shelf life
- Very few granules are enough for the worm bin
- Good for your lawn, too
Essentially, your bedding should be loose enough to allow air circulation yet dense enough to retain moisture. Check moisture levels weekly by squeezing a handful of bedding—it should feel damp, but not dripping wet. Notably, a properly maintained bedding environment enables your worms to process up to twice their weight in organic matter each week.
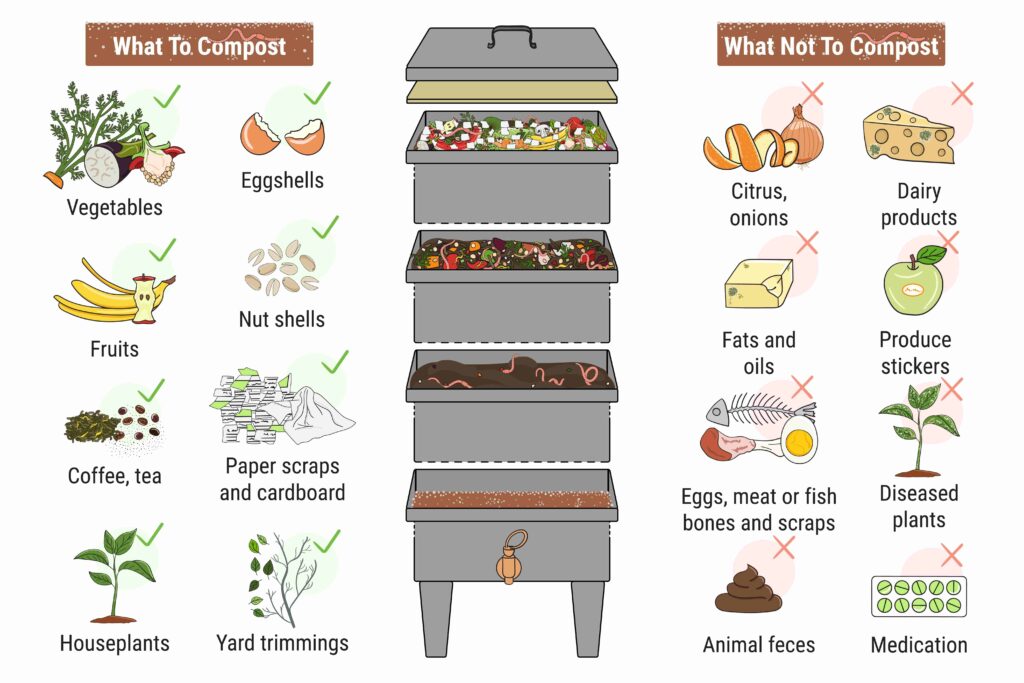
What do worms eat?
Your worms process food through a remarkable digestive system that relies on microorganisms to break down organic matter. They can digest a lot of different food, but they do have some limits.
Kitchen scraps your worms will love
Composting worms eagerly consume a wide variety of plant-based kitchen waste. A properly maintained worm bin can process up to half a pound of food waste per day for every pound of worms. Beneficial foods for your worm farm includes:
- Fruit scraps (banana peels, apple cores, melon rinds)
- Vegetable waste (potato peels, lettuce leaves, celery ends)
- Grains (bread, pasta, cereal)
- Coffee grounds and tea bags
- Crushed eggshells
Foods to avoid in your worm bin
In addition to knowing what to feed your worms, understanding what to avoid is equally crucial. Generally, certain foods can harm your worms or create unpleasant conditions in your bin. Avoid adding large quantities of citrus fruits, as they contain limonene, which is toxic to worms. Likewise, salty foods can be lethal, as worms breathe through their skin and salt draws moisture from their bodies.
Consequently, these items should never enter your worm bin:
- Meat and dairy products
- Oils and greasy foods
- Onions and garlic
- Dog or cat waste
- Highly processed foods
- Toxic materials (treated wood products, bleached paper)
Creating a balanced worm diet
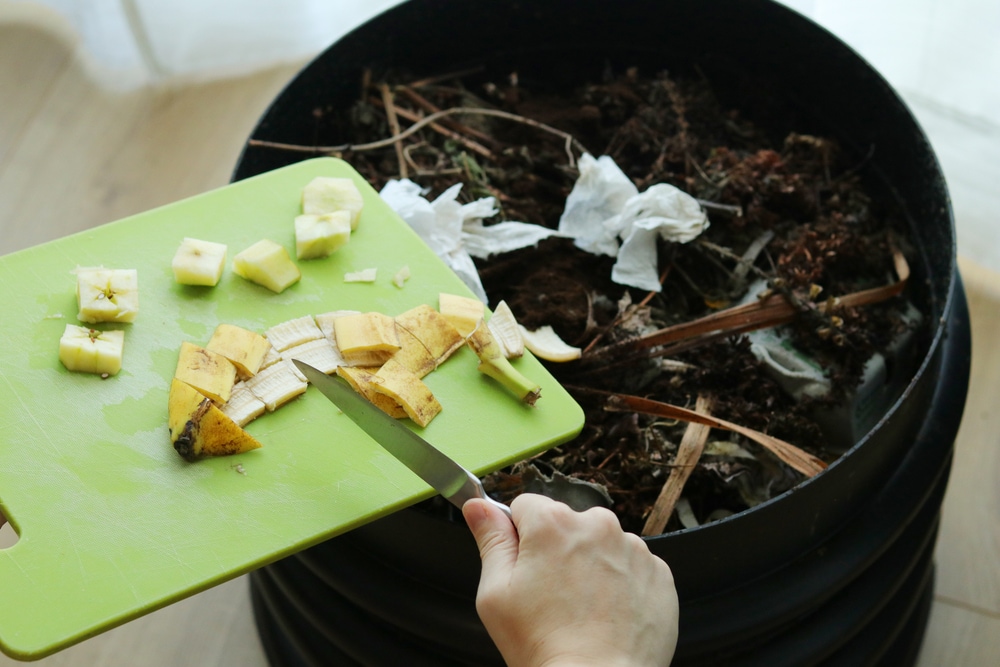
Above all, maintaining proper feeding amounts ensures optimal composting. A well-balanced approach involves feeding small portions regularly, rather than large amounts occasionally. Check the prior feeding spot—or really just on top of the bin—if worms are present in large numbers, they are ready for more food.
To speed up decomposition, chop food into smaller pieces. Initially, new worm bins require lighter feeding during the first few weeks until the microbial populations establish. As well as monitoring portion sizes, maintain moisture balance by mixing wet food scraps with dry bedding materials.
Tip
Bury food 3–4 inches beneath the bedding surface to prevent fruit flies.
Maintaining your worm composting system
Maintaining a thriving worm composting system requires regular attention to specific environmental factors. A properly maintained wormery functions like a small ecosystem, with several processes influencing each other.
Weekly maintenance routine
Establish a weekly schedule to check your bin’s conditions. Primarily, inspect the drainage holes to prevent clogging, which could lead to waterlogging Straightaway remove any excess food that hasn’t been consumed within 2–3 days to prevent rotting and odours.
For optimal performance, gently mix the top few inches of bedding to improve oxygen flow. Avoid disturbing the worms during this process. The easiest is to use your hands, you can wear gloves for this if you like. Regular bin maintenance helps prevent pest infestations and ensures a healthy environment for your composting worms.
Moisture and temperature control
Temperature management proves crucial for worm survival and productivity. Red wiggler worms thrive in temperatures between 13–25 °C. Nevertheless, temperatures below 4 °C will kill worms over time, while those above 35 °C can prove fatal quickly.
To regulate temperature effectively:
- Move bins to cooler spots during summer
- Add insulation in winter using blankets or burlap
- Monitor internal temperature with a soil thermometer
- Create ventilation gaps between trays for cooling
Moisture balance requires equal attention. The bedding should maintain the consistency of a wrung-out sponge. Certainly, dry conditions can dehydrate worms, while excessive moisture prevents proper oxygen flow. When adding water, use small quantities frequently rather than large amounts rarely to avoid pooling.
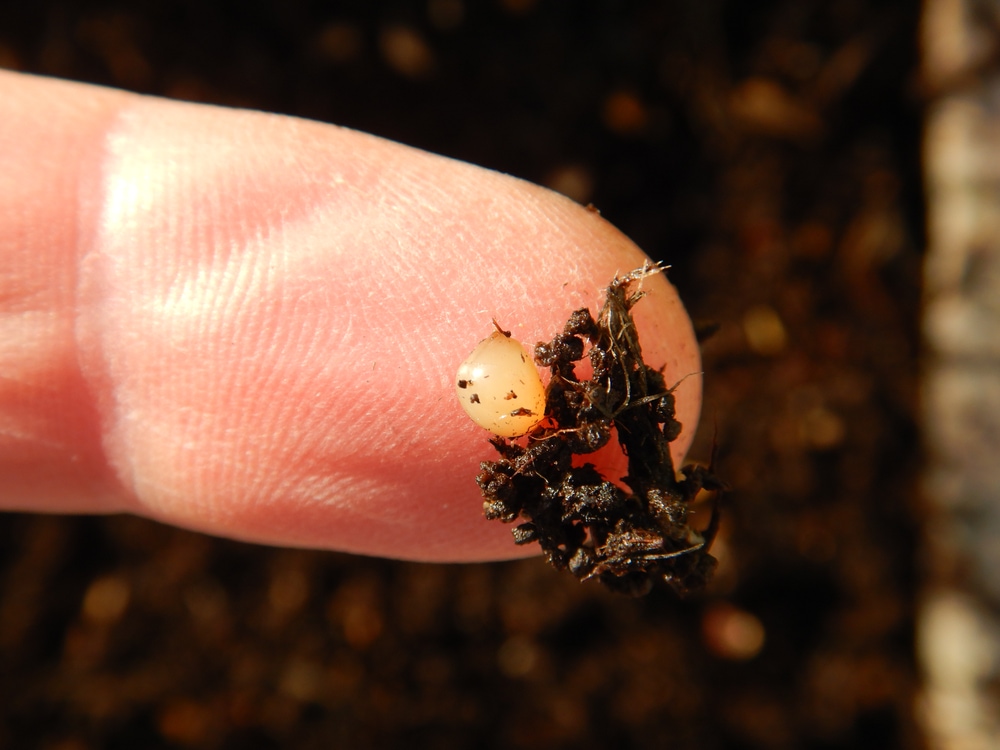
Signs of a healthy worm farm
A well-maintained worm bin exhibits specific indicators of health. The most reliable sign is an earthy smell, similar to fresh soil. Soon after feeding, you should observe active worm movement and consistent food consumption—healthy worms consume approximately one-third of their weight every 2–4 days.
Watch for worm reproduction as another positive indicator. Under proper conditions, cocoons hatch within 3–4 weeks. Specifically, look for bright, reddish-brown coloured worms showing active movement, those are the wormlets. If worms attempt to escape or appear lethargic, this signals problems with moisture, temperature, or feeding levels that require immediate attention.
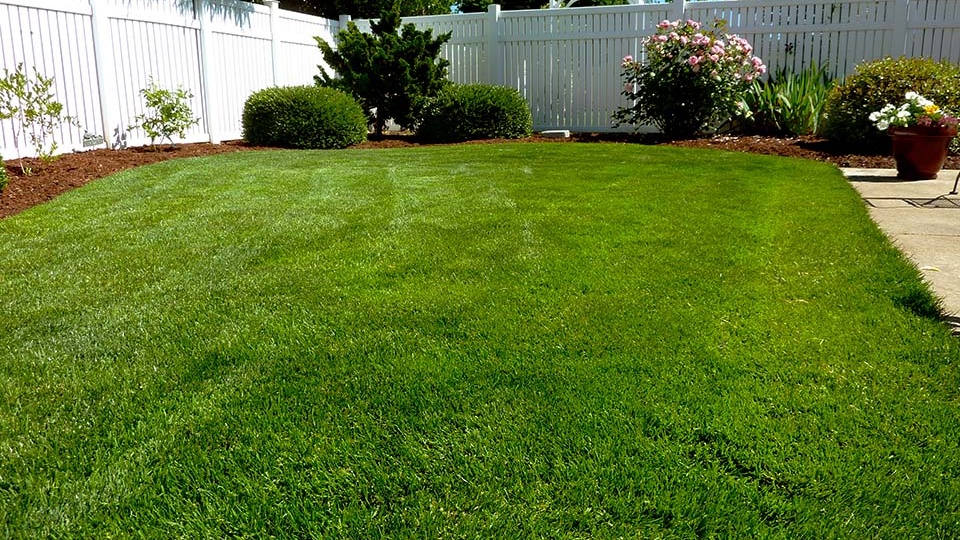
Harvesting and using your garden gold
After months of diligent feeding and maintenance, your worm bin will produce rich, dark vermicastings ready for harvest. These nutrient-packed castings serve as nature’s finest soil conditioner, full of essential nutrients in forms easily absorbed by plants.
The Lawn Doctor:
Grass also loves worm leachate. When diluted, it can be used as a natural, chemical-free lawn fertiliser.
When and how to harvest worm castings
Properly finished castings display a uniform, fine texture with a deep brown colour. Typically, harvesting becomes necessary every three to six months. Two effective methods stand out for collecting these valuable castings.
The Migration Method proves most straightforward. Begin by moving all food to one side of your bin. Within one to four weeks, most worms will migrate toward the food source. Therefore, you can harvest the worm-free castings from the opposite side.
Alternatively, the Light Method utilises worms’ natural aversion to brightness. Spread your compost on a surface and establish small mounds. The worms will burrow downward, allowing you to collect the casting-rich top layers.
Making and using worm tea
Worm tea amplifies the benefits of castings through a simple steeping process. To prepare this nutrient-rich liquid:
- Place castings in a porous bag (old t-shirt or cheesecloth)
- Submerge in unchlorinated water
- Let steep overnight
- Strain the resulting brown liquid
For enhanced effectiveness, mix one handful of castings into a ten-litre bucket of water. Indeed, this dilution creates an ideal strength for most applications. Properly stored tea remains viable for 24–48 hours in warm weather and up to three days in cooler conditions.
Application tips for Maximum benefits
Your garden can benefit from worm castings in three primary ways:
- Direct Application: Add a handful of castings into planting holes when transplanting seedlings. This method supplies nutrients and retains moisture around developing roots.
- Liquid Fertiliser: Apply diluted worm tea in a 1:10 ratio with water. This solution works effectively for both soil drenching and foliar spraying.
- Soil Rejuvenation: Mix three to four handfuls of castings into a ten-litre bucket of water to create a richer brew for revitalising tired potting mix.
For optimal results, apply castings every two to three months during the growing season. Hence, your plants receive a steady supply of nutrients throughout their growth cycle. Similarly, worm tea applications can occur weekly for vegetables and fortnightly for most other plants.
The versatility of these garden products extends beyond basic fertilisation. Primarily, castings contain millions of beneficial bacteria and organisms essential for soil and plant health. Furthermore, unlike synthetic fertilisers, there’s no risk of burning plants with excessive application.
FAQs about worm farming
How often should I feed my composting worms?
Feed your worms small portions regularly, rather than large amounts occasionally. Check the prior feeding spot — if worms are present in large numbers, they are ready for more food. Initially, new worm bins require lighter feeding during the first few weeks.
How do I harvest and use worm castings?
Harvest worm castings every three to six months using either the migration or light method. You can apply castings directly to planting holes, mix them with water to create worm tea for liquid fertiliser, or use them to rejuvenate potting soil. Apply castings every two to three months during the growing season for optimal results.
What are common mistakes to avoid in worm composting?
Common mistakes include letting worms freeze in winter, overfeeding, overwatering the bedding, adding large chunks of food, and having too many worms for the bin size. To avoid these, ensure proper insulation, feed in small portions, maintain proper moisture levels, chop food scraps, and match worm population to bin capacity.
When will you start your worm farm?
Worm composting stands out as a remarkable solution for transforming kitchen waste into valuable garden resources. Through proper setup and maintenance, your worm farm can process substantial amounts of food waste while producing nutrient-rich castings and tea for your plants.
Your journey into worm composting benefits your garden and contributes to environmental sustainability. Each handful of kitchen scraps diverted from landfills makes a difference, while every application of worm castings enriches your soil naturally. Are you interested in learning more about composting or making leaf mould? Check out our articles! Just in case it takes a while until you have time to start your wormery project, you can have a look at out our organic fertilisers. Just to keep your plants well fed until the worm castings are ready.
And if you have a question or tips for us, please leave a comment.
Happy worm farming!


SURVEY
Find the best match for your needs in no time!
Answer 2 questions and we provide you with the best product.
What lawn size do I have?
– More posts –
These may also be worth a read
-
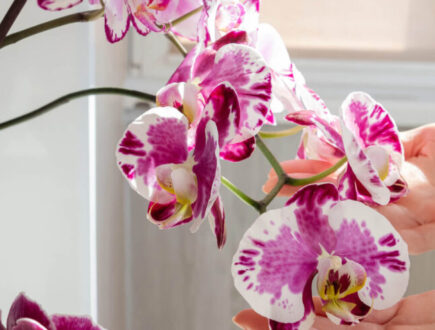
 Orchids: A Complete Guide on How to Care for ThemWant to give your orchid the best possible care? Discover essential tips from placement to watering and pruning. Learn everything you need to know!Read more
 -
Growing Wisteria Made Simple: From Planting to Perfect BloomsWith blossoms like a purple waterfall, Wisteria sets an almost magical and colourful mood. If you want to grow this beauty in your garden, you’ll need a bit of patience. Don’t worry, it will most definitely pay off.Read more
-
How to Build a DIY Greenhouse: A Practical Guide for Smart SpendersImagine extending your growing season throughout the year, nurturing tender plants regardless of the weather, and creating a personal garden sanctuary. This is precisely what a DIY greenhouse offers you. Let’s learn how to build one.Read more
-
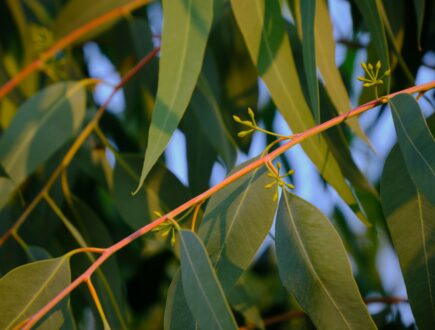
How to Grow Eucalyptus in British GardensWith a little love and care, eucalyptus trees can thrive in English gardens. Since they don’t germinate well without proper help, there are not considered invasive. So, there is no reason not to plant them if you enjoy their looks.Read more
-
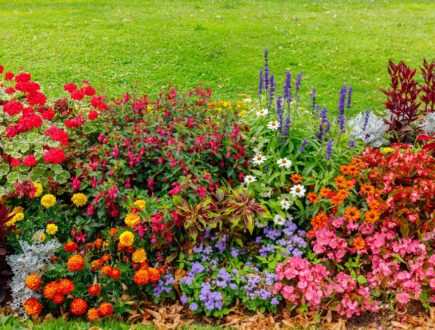
Transform Your Garden with All-Year-Round Flowering PlantsDid you know you can enjoy blooming flowers even in January? With the right selection of all year round plants, there’s no need to wait until spring to add some colour to your garden.Read more
-
How to Create a Butterfly Garden: A Simple Guide for British GardensThe UK's butterfly population includes 59 different species. These beautiful winged creatures face a steady decline because of habitat loss, pollution and changing weather patterns. Your garden can become a vital link between nature reserves and natural habitats. Let’s explore how.Read more
-
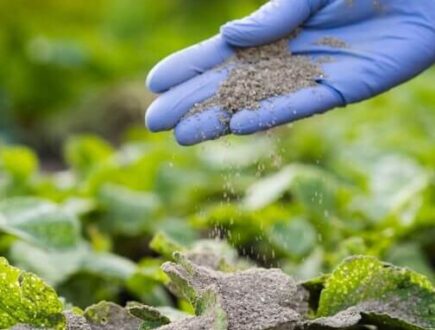
Volcanic Rock Dust for Your Garden—Application and TipsDid you know that volcanic rock dust is a brilliant organic soil improver? This article explains exactly what it's good for and how to use it properly.Read more
-
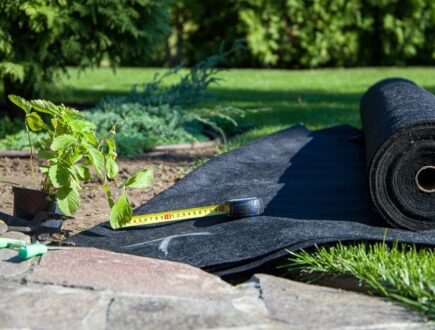
How to Use Landscape Fabric ProperlyIf weeds or erosion in your garden are troubling you, landscape fabric might be the solution. We’ll explain how and when to use it properly, just keep on reading.Read more


Leave a comment
Your answer will be displayed on the site and the interested party will be notified by email.
Leave a comment
Have a question or want to share your experience? Leave us a comment.

Lawn kits
All products after scarifying | Quickly restores the lawn after scarifying | Outsmart weeds quickly with the use of this kit
From: 37.99
Out of stock
View
Scarifying Kit
37.99
- Order by 2PM = shipped today
- 250.000+ satisfied customers!
- 60 day satisfaction guarantee
Lawn kits
MOOWY’s choice for spring care | Quick recovery of your lawn after winter | A strong lawn prevents weeds
From: 24.99
Out of stock
View
Spring Lawn Care Kit
24.99
- Order by 2PM = shipped today
- 250.000+ satisfied customers!
- 60 day satisfaction guarantee

Lawn feed
Effective for 90 days | Suitable for all types of grass and soil | See results in 14 days
From: 13.99
Out of stock
View
Long Lasting Lawn Fertiliser
13.99
- Order by 2PM = shipped today
- 250.000+ satisfied customers!
- 60 day satisfaction guarantee
– WHO ARE WE –
We believe that everybody should enjoy a green, healthy garden. Effortlessly.

Free download
Do you want a lawn calendar?
🌱 All important maintenance moments for your lawn during the year. Leave your email and we will send you the lawn calendar for free.
Enter your email
Receive the lawn calendar in the mail
Enjoy a green lawn all year round!


Comments (0)
There are no comments yet. Well then, what are you waiting for to
Be the first to write your comment!inaugurate this pretty page?
Do you have some comments?