 60 day satisfaction guarantee
  Order by 2pm for next day delivery
  250.000 + satisfied customers
 Log in or create new account to save this product to your wishlist.
8 MIN
18 Oct
Last update:
31 Jul 2024
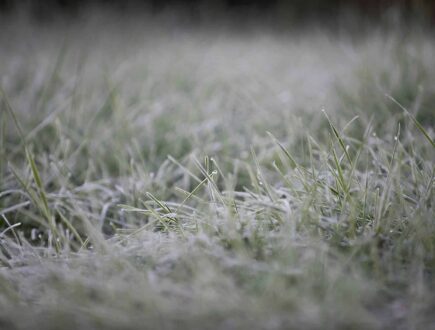
My Lawn Renovation, Part 2: Scarifying and Overseeding
The most worrying part of lawn renovation for all newbies is the scarifying. This is my first time! Follow my journey!
Free download
Do you want a lawn calendar?
🌱 All important maintenance moments for your lawn during the year. Leave your email and we will send you the lawn calendar for free.
Enter your email
Receive the lawn calendar in the mail
Enjoy a green lawn all year round!
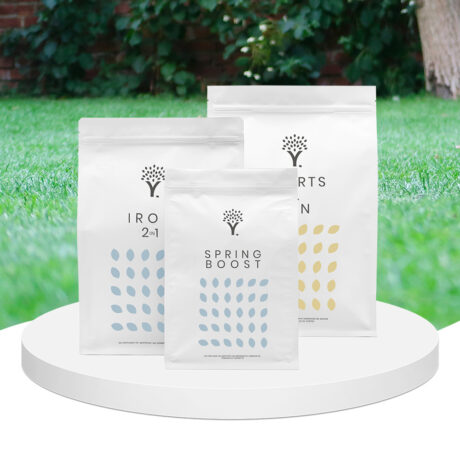
MOOWY's Choice

Lawn kits
MOOWY's choice for the autumn | Keeps moss and weeds at bay | Provides a deep green color and healthy, full growth
From: 20.99
 Out of stock
View
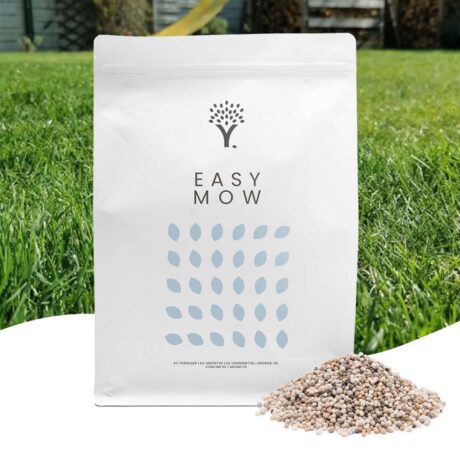
Autumn Lawn Care Kit
20.99
- Order by 2PM = shipped today
- 250.000+ satisfied customers!
- 60 day satisfaction guarantee
In the previous part of this mini-series, I applied iron sulphate to my moss-overwhelmed lawn, mowed it short, and then waited for the moss to die off. This means I’m ready for the most dramatic stage of my lawn renovation process: scarifying.
For those unfamiliar with scarification, it’s a process of removing the upper layer of moss and thatch that covers the soil surface. However, along with the moss, you’re likely to take the grass with it.
So, scarifying can be a rather unsettling experience for the uninitiated — such as me!
This article explores what happened when I scarified my lawn for the first time. And from a decimated pile of earth, how I prepared the soil for new life!
Lawn renovation: Why should I scarify?
The previous week, I laid down MOOWY’s 2-in-1 Moss Killer and Fertiliser, which turned the grass a deeper shade of green and made the moss curl up and die on the top surface of the lawn.
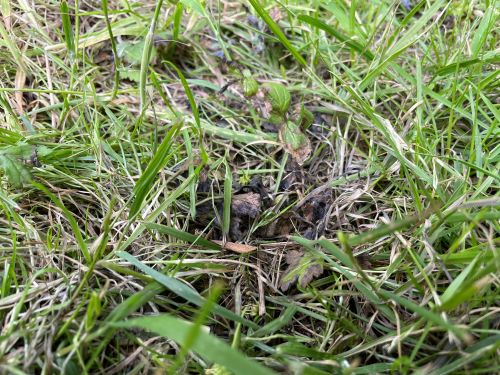
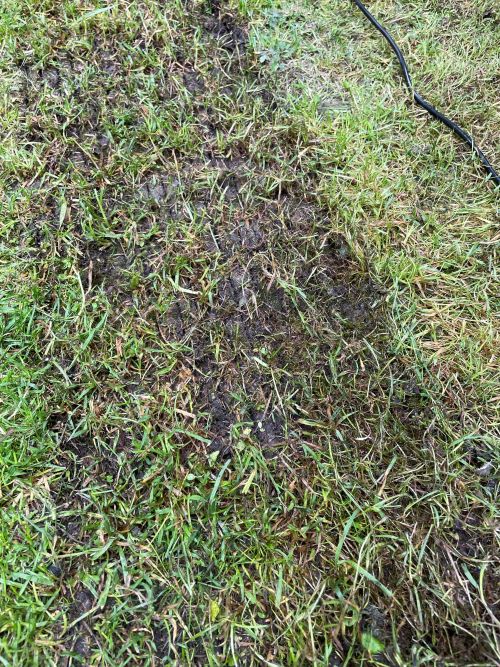
You can see here that the moss underneath the grass line has turned black and is easy to lift off the ground.
You’ll also notice the densely-packed nature of the lawn. With hardly any visible soil, the thatch layer is suffocating the roots of my grass plants.
Scarifying, as you’ll see, clears the thatch layer (and literally everything else!). However, it also tears the grass plants in the process, leaving a bit of a mess.
However, this harsh attack on your lawn will pay off: the action of scarifying triggers your grass plants’ survival mode, boosting recovery as it releases a powerful growth hormone.
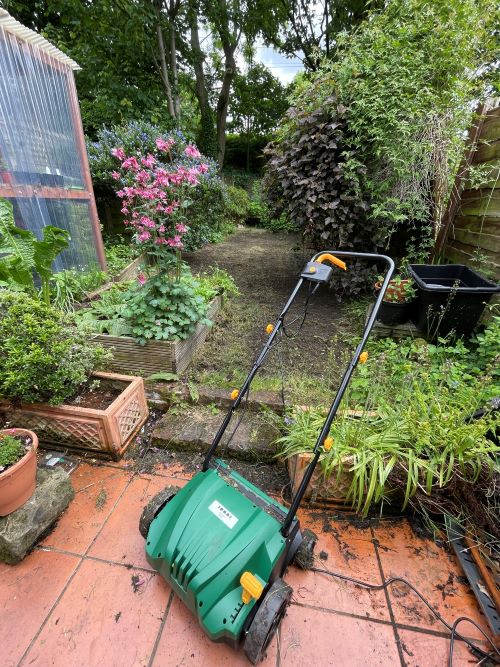
Lawn renovation: Scarifying by rake or machine?
While it’s possible to scarify with a garden rake, it’s quite a lot of effort. And although my small garden in a leafy suburb of Manchester is only around 20sq metres in size, I knew that rake scarification was probably unlikely to address the problem entirely.
I was going to hire a scarifying machine; it would cost around £70, which I thought was a little steep for a single day’s hire. However, a quick Google search (other search engines are available) revealed that I could buy a scarifying for £70, which seemed like a bit of a bargain.
So, I purchased the machine, put it together and mentally prepared myself for my first scarification.
Scarification: choosing the correct blade height
VIDEO
Because I’d never scarified my lawn before (and because I’d never used a scarifying machine), I decided that caution was advisable. So, I ran my scarifier on the highest setting.
However, that didn’t work. It hardly lifted anything, so I gradually reduced the height of the scarifying blades to see the effects of each.
Eventually, I bit the bullet and went for the lowest setting — with a lawn this bad, I needed some fairly drastic action.
It’s worth noting that I won’t need to use the blades so low for future scarification as I’ll have tackled the main moss problem. But this time, it was a bit of an emergency!
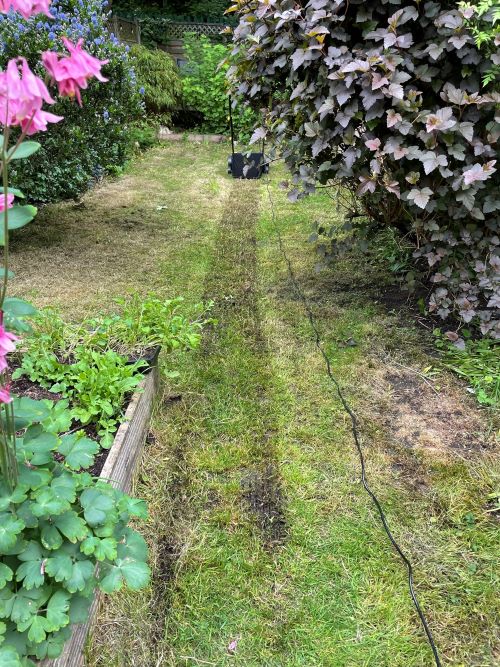
Scarification: how do you do it?
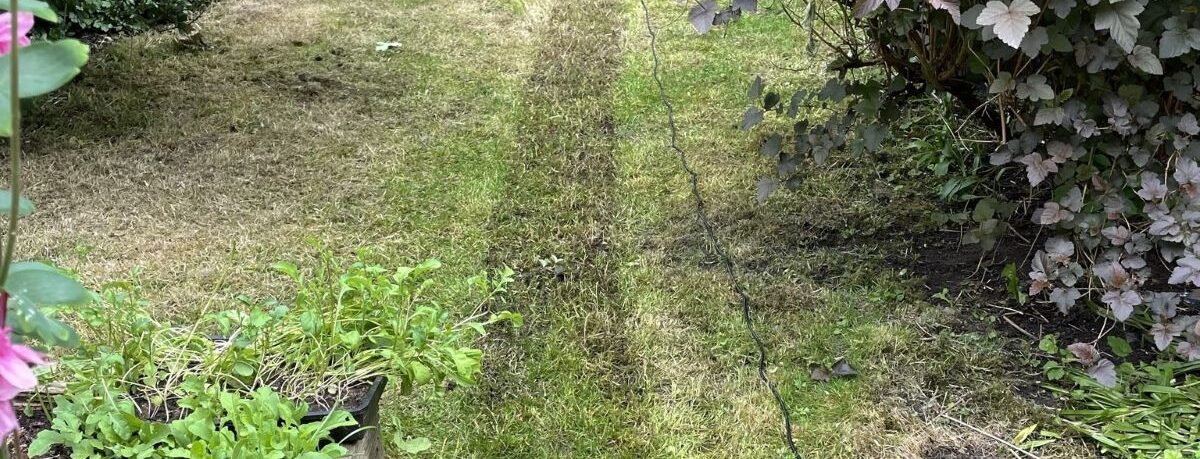
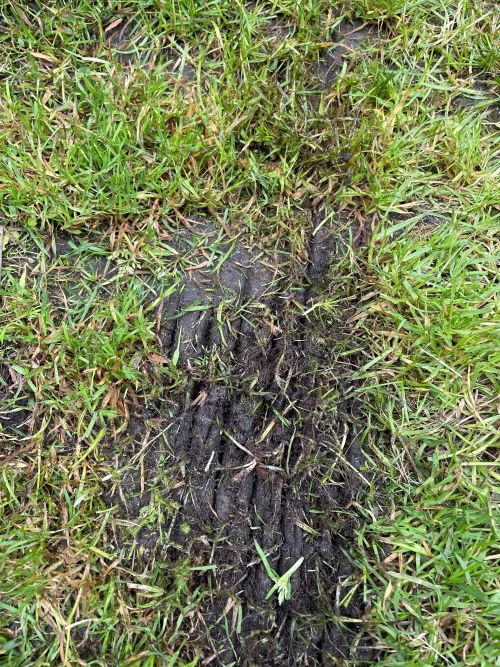
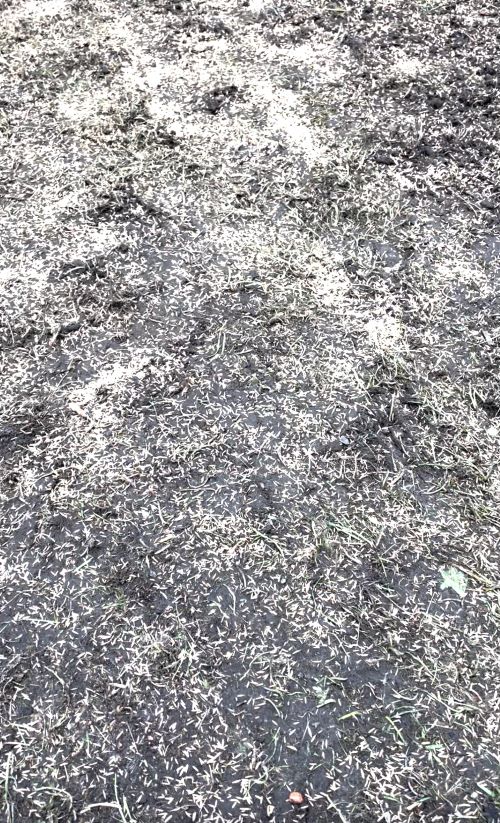
Scarifying is a little scary as you run the machine over your lawn and discover a trail of destruction in its wake. And I was a little surprised to find that the collector box was full by the end of the first line to the top of the garden!
You can see the ridges caused by the blades of the scarifier, but after this first run, there’s still loads of moss underneath.
So, I ran my scarifier up and down the entire lawn, from top to bottom.
Then, I ran the scarifier diagonally across from the bottom left of the lawn to the top right. And then diagonally from the bottom right to the top left.
My advice here is to keep your nerve — because this was what my “lawn” looked like after I’d finished all three stages.
Slightly horrifying.
But trust in the process — it works!
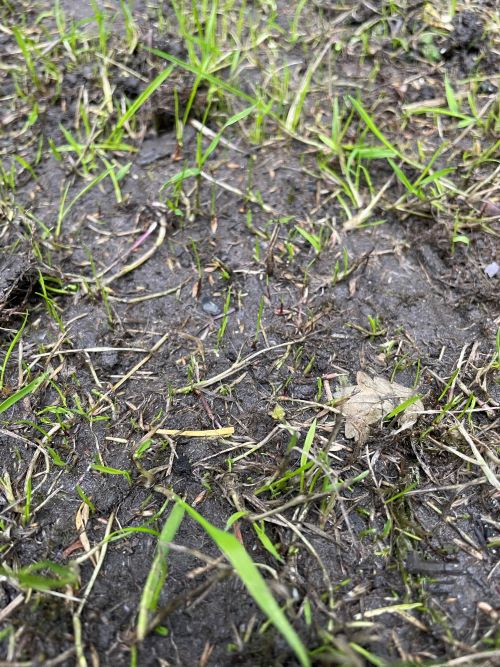
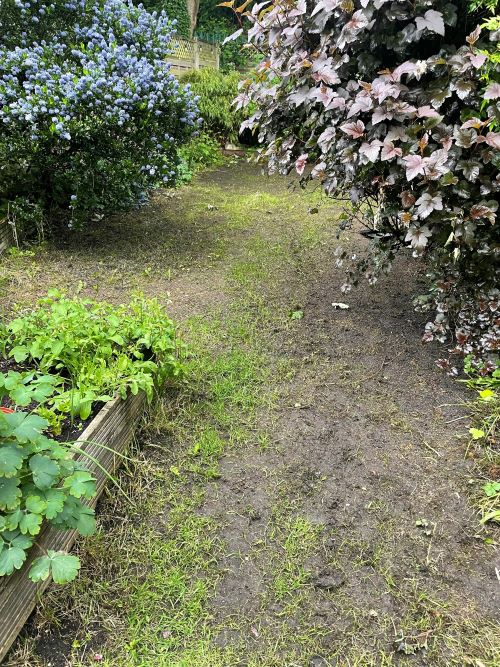
Scarification: the aftermath
There wasn’t a lot left of my lawn at this stage – your lawn probably won’t look this bare in most cases.
But:
I had to push it this far before being satisfied I’d gotten rid of the moss.
Remember, this was 17+ years of no notable lawn care. My lawn had had its first ever crew-cut, and now I could move on to the next stage: overseeding.
Lawn renovation: what are the benefits of overseeding?
Overseeding is the process of laying fresh grass seed over an existing lawn. The main benefits of overseeding are:
- Refreshes the youth of your lawn: old lawns tend to look old — they lack vitality and start to become weedy, thin, and pale. So, adding new grass seed allows your lawn to become young again, bringing with it the healthy vitality of youth! (If only we could overseed ourselves! 😉
- Prevents weeds and moss: replenishing your lawn with young plants helps to add density, covering over bald patches that will accommodate weeds and moss.
- Increases disease resistance: the vitality of youth brings greater disease resistance to your overall lawn. If you overseed every year, the new will quickly overtake the old.
- Improve wear resistance and colour: adding new life to your lawn makes it more resistant to heavy use and a beautiful, consistent vibrant green to your grass.
Overseeding: how much seed do I need?
In normal circumstances, MOOWY recommends using 17g of high-quality lawn seed per square metre of lawn. However, in this case, I was going to be a little more generous because, if you recall, my lawn was in a very sorry state; a lot of the grass was already straw-like and dead.
You should use 34g per square metre to lay a lawn from scratch. I used more like 25g per sq metre in this case.
Overseeding: what type of seed should I use?
When selecting your ideal grass seed type, you should consider your garden’s conditions.
Think about:
- Your soil type: is it heavy clay or sandy? My soil is heavy clay, so it’s pretty rich in nutrients, but it’s also prone to compacting, which makes the soil hold onto water. My soil will need aerating to improve drainage (although scarifying has already lifted the top layer for reseeding).
- Your daylight conditions: the right-hand side of my lawn is in constant shade, so I need a shade-tolerant grass type
- How you intend to use your lawn: will you be using your lawn for ball games and entertaining? Will it see a lot of use? Or do you want a purely ornamental lawn with light use?
For shaded or partially shaded lawns, use Shade & Sun lawn seed.
For heavy-use lawns, use Sport & Fun grass seed.
For ornamental lawns, use Premium Lawn seed
For quick regrowth, use Quick Repair grass seed.
In my case, I used MOOWY’s Shade & Sun.
Lawn renovation: how to overseed
You could use a hand-held seed sprinkler, but I didn’t have one, so I scattered the seeds by hand. Of course, I know my lawn well, so I know where the least growth happens — I focused more seed in the areas where the grass tends to be thin.
After laying the seed, I needed to rake it into the soil — this ensures that the seed makes good contact with the earth, which it needs for germination.
Using a standard telescopic rake, I managed to even out the distribution of the seeds.
Overseeding: press the seeds into the soil
While it’s not necessary to cover the seeds with soil, you do need to apply pressure to the seeds to ensure they stick to the earth. Without this contact, the seeds won’t germinate, so pressing the seeds into the soil is an important stage of the process.
I pressed the seeds into the soil by applying pressure with my shoes — this took a fair while as you need to ensure good soil contact. Alternatively, use a roller.
Lawn renovation: water after overseeding
Once the seeds are pressed into the soil, it’s time for a light watering. It’s vital to water fairly gently to prevent disturbing the seeds too much.
The best advice here is to water little and often. It’s better to water lightly three or four times a day than heavily once a day.
My lawn renovation: the aftercare
In the final part of my lawn renovation mini-series, I’ll go through the necessary aftercare. This includes fertilising and mowing (weather permitting!).
Any questions?
I hope you feel inspired to renovate your own lawn. If you have questions, please don’t hesitate to get in touch.
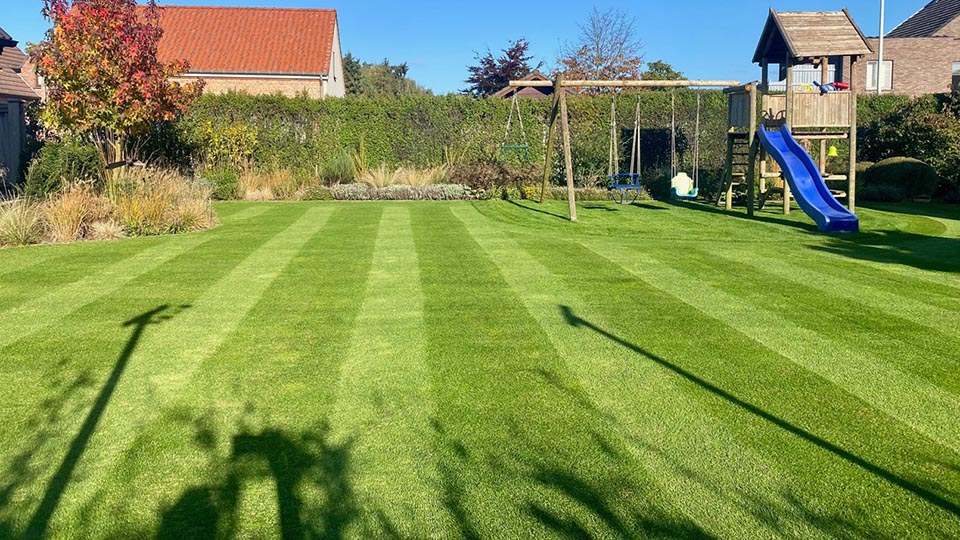
In the next part of this series, you’ll see the transformation of my lawn — a healthy, vibrant green covering that has totally transformed my garden.
Thanks for reading.

SURVEY
Find the best match for your needs in no time!
Answer 2 questions and we provide you with the best product.
What lawn size do I have?
– More posts –
These may also be worth a read
-
 Zero-Waste Gardening – This is How You Do It!Did you know that the average person wastes between 100 and 150 kilos of food every year? That's why the concept of zero-waste gardening is becoming increasingly important for environmentally conscious gardeners that like to do their gardening greener.Read more
 -
How to Master Tree Pollarding: A Practical GuidePretty dense! What might be an insult to some, is certainly a compliment to trees. Through pollarding, you can make sure, your trees have a dense crown of beautiful leaves.Read more
-
Get Ready: Here are 5 Garden Trends for 2025Curious about the latest garden trends for 2025? From smart solutions to sustainable choices, discover all the outdoor trends that are transforming British gardens!Read more
-
How to Care for Plants in Winter: A Simple GuideWhen winter comes around, the care requirements of your plants change. Find out, how to adjust the care routine for your plants.Read more
-
Companion Planting Made Easy: A Step-by-Step TutorialStrategic plant partnerships can solve common gardening problems like pest invasion and disappointing yields. Find out which plants are great together in our companion planting guide.Read more
-
How to Grow Sweet Potatoes in Your GardenWant to know something splendid? A single sweet potato plant can produce 5 to 10 pounds (4.54 kg) of nutritious tubers—plenty to keep your family’s pantry well-stocked for weeks!Read more
-
Revive Your Lawn After Winter With These Easy StepsTired of winter lawn damage? Discover how to repair brown spots, remove weeds, and revitalise your grass for a thriving garden this spring.Read more
-
A Complete Guide On Lighting for Your House PlantsAchieve perfect lighting for houseplants! This guide covers light mapping, plant placement, and grow light tips to help your plants flourish indoors.Read more


Leave a comment
Your answer will be displayed on the site and the interested party will be notified by email.
Leave a comment
Have a question or want to share your experience? Leave us a comment.

Lawn kits
All products after scarifying | Quickly restores the lawn after scarifying | Outsmart weeds quickly with the use of this kit
From: 37.99
Out of stock
View
Scarifying Kit
37.99
- Order by 2PM = shipped today
- 250.000+ satisfied customers!
- 60 day satisfaction guarantee
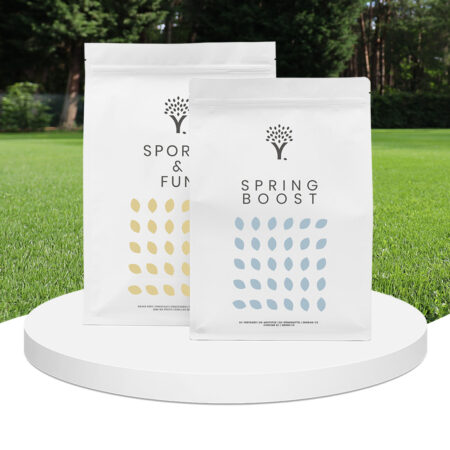
Lawn kits
MOOWY’s choice for spring care | Quick recovery of your lawn after winter | A strong lawn prevents weeds
From: 24.99
Out of stock
View
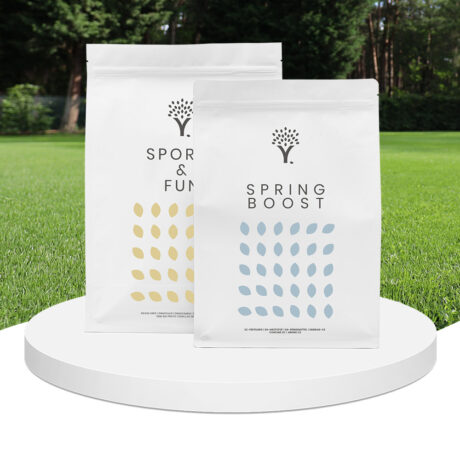
Spring Lawn Care Kit
24.99
- Order by 2PM = shipped today
- 250.000+ satisfied customers!
- 60 day satisfaction guarantee

Lawn feed
Effective for 90 days | Suitable for all types of grass and soil | See results in 14 days
From: 13.99
Out of stock
View
Long Lasting Lawn Fertiliser
13.99
- Order by 2PM = shipped today
- 250.000+ satisfied customers!
- 60 day satisfaction guarantee
– WHO ARE WE –
We believe that everybody should enjoy a green, healthy garden. Effortlessly.

Free download
Do you want a lawn calendar?
🌱 All important maintenance moments for your lawn during the year. Leave your email and we will send you the lawn calendar for free.
Enter your email
Receive the lawn calendar in the mail
Enjoy a green lawn all year round!


Comments (0)
There are no comments yet. Well then, what are you waiting for to
Be the first to write your comment!inaugurate this pretty page?
Do you have some comments?